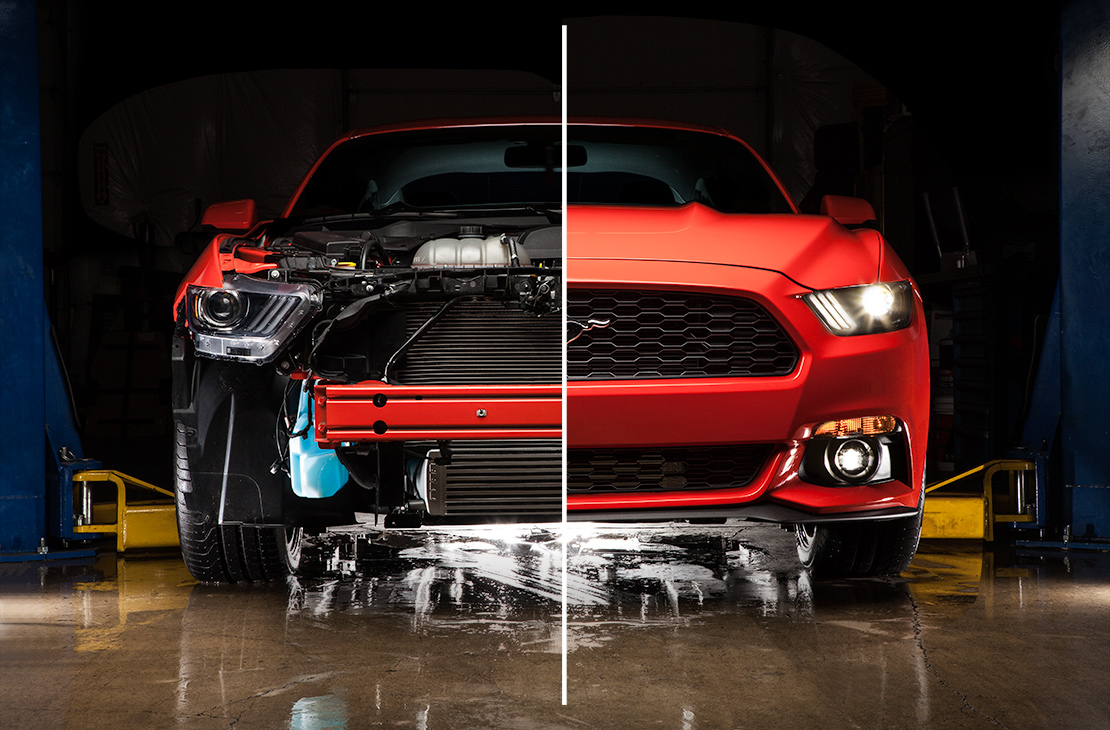
Titanium, pie cuts, and burnt tips. That’s what comes to mind when I think of “Tomei.” Regarded as one of the top tier Japanese aftermarket performance part manufacturers, Tomei specializes “the art of single,” or titanium single exit exhaust.
From the Nissan 350z to an R34 Skyline, and now oddly enough the Ford Mustang Ecoboost, in my opinion, Tomei has mastered the look and sound of the single exit exhaust.
Reading through my emails, I came across information that Tomei had created an exhaust for the Mustang Ecoboost. My curiosity was lit, and my attention was laser-focused. I looked into it, and sure enough, Tomei built a true single exit exhaust with titanium piping all the way through the muffler for the Ford Mustang Ecoboost.
Converting to a “single” exhaust from the Mustang’s traditional dual system isn’t everyone’s cup of tea. I come from the Import Tuning world so when I think Tomei, I think of quality titanium and that is exactly what this system is made of. Going to a single exhaust is purely a personal preference based on the sound and the way it looks.
I connected with my Tomei USA contact, Taka, and told him about my Mustang. As a result, the Tomei team sent over a single exhaust for me to test fit and photograph. Like a kid in a candy store, I jumped for joy as this is an item I’ve always wanted on a vehicle of mine.
Unboxing
We have to talk about the packaging… But why? Because it’s perfect, professional and the attention to detail is as Japanese as it can get. The pride that is taken into packaging this exhaust is something you need to see for yourself.
Every part in the Tomei Exhaust box was carefully packed, and every exhaust component was hand wrapped with bubble wrap. I have full confidence that every exhaust Tomei sends out arrives undamaged due to this type of quality control.
I carefully cut the packing tape that holds the bubble wrap together to reveal the perfection that lays hidden behind the wrap. Robotic welds, something you only see at Full-Race Motorsports, have made their mark on Tomei’s titanium piping. The main section weights no more than two pounds. You can seriously bench press this thing with your pinky! After getting a taste of what to expect, I go straight for the muffler.
This is the DaVinci of not only Ecoboost exhaust, but Mustang exhaust systems in general. The muffler has been hand welded to perfection with pie cuts helping the tip extend out towards the rear diffuser. The back of the muffler has been chemically treated for that “burnt” titanium look. The exhaust tip has received the same treatment as well. The Tomei Expreme logo has been laser etched in for branding and prestige.
My thoughts, it looks insane and communicates everything about the style I want the car to reflect.
Modification
Before I could unbox everything, I needed to address one issue that an Ecoboost group member brought to everyones attention. Tomei does not manufacture a 3-inch slip joint for those that are running a true 3-inch downpipe.
In the box is a 2.25-inch reducer to 3-inch slip fit that slides over the main pipe and on to a stock or MBRP down pipe. This reducer will not work with my Full-Race Motorsports ProStock Downpipe, so we did what we do best, and we make it work.
I made a quick call to TiCon Industries who supplied us with a 3-inch titanium slip joint with a 3-inch extender. Local fabricator and friend, Devin Christensen volunteered to help create the modification that would be needed to fit our Tomei system. With all of us busy as always, I got to his garage around 10 PM to get things mounted and fabricated.
We started by jacking my Mustang up and removing my old Full-Race Motorsports Race Type exhaust which came off in less than 15 minutes. We carefully started unpacking all parts of the exhaust.
In less than 10 minutes, Devin had the mid-elbow hung from the stock hanger and attached the main pipe; he used a jack stand to help support the pipes. I wrapped the muffler in towels as I handed it to Devin to hang on the rear hanger near the rear bumper. He slid all the pipes in place and began adjusting the height.
The fitment is incredible with the main pipe tucking all the way up into the driveshaft tunnel. The midsection keeps close against the rear diff for maximum ground clearance.
Happy with the fitment and angle, Devin tightens the compression clamps to connect the Tomei system to itself. We can now begin to measure how much piping we need to use from our TiCon kit.
Surprisingly, the main pipe was only about ¾ of an inch away from the down pipe. Unknowingly, the main pipe has a slip joint, we could have just extended the downpipe with SS 304 which could have matted with the slip joint, but we did not have that material on hand. With time running out, we decided to cut the Tomei adaptor in half and weld on the TiCon slip adaptor that would connect to the downpipe.
With the adaptor cut in half, Devin slipped both joints in and just like that the exhaust was mated. He measured twice, made sure the fitment on everything was to spec and marked where he would weld the Tomei Adapter to the TiCon slip.
Devin commented that this was his first time working with titanium and from what we could tell it looked like he’d been doing it for years. His welds were just as flawless as Tomei’s. One last test fit confirmed that everything fit just as planned.
We painfully removed the entire exhaust as carefully as possible, wrapped it back up, and reinstalled my Full-Race Exhaust. It was time to head home and get ready to shoot the exhaust in the studio!
The Install
This kit contains:
- Connector Pipe(1)
- Main Pipe A (1)
- Main Pipe B (1)
- Silencer Assy (1)
- Clamp Band (3)
- Spring (6)
- Silencer Band (1)
- Silencer Band Rubber (1)
- Bolt M8 L=25Mm P=1.25Mm (1)
- Nut M8 (1)
- Sound Reducer Ver.2 (1)
- Bolt Smooth Paste (1)
After staring at this thing for a solid hour in amazement, it was time to install it permanently. I will now walk you step-by-step on how to install my Tomei Expreme Ti Titanium Catback Exhaust for the Ford Mustang Ecoboost.
This time we’re very fortunate not only to have access to a Hollywood studio (Painted Tiger Studios) SHOUT DAN but it as well as a fully functional automotive shop with a lift.
For those that are wondering how I get my Mustang on a lift being almost 3 inches lower than OEM, I start by jacking the rear diff up. For the love of god, please make sure your jack is in the middle of the differential. From there, I can slide all four arms under my Mustang. I make sure the arm pads are in the middle of the pinch weld at the front and rear of the vehicle. Use the lift to pick up the front of the car and the rear arms will follow. Stop the vehicle at chest height and make a visible inspection that you are clear to go all the way up.
I start by removing the rear section of my Full-Race Motorsports exhaust, from there, I work my way forward and loosen the front compression clamp to remove the entire system. If you have an OEM exhaust, remove the compression clamp from the downpipe connecting the resonator. Remove the two hangers bolted to the rear subframe. Have a friend go to the front, push the exhaust forward to remove the slip from the downpipe.
Pull forward to remove the rear section from the hangers. Remove the entire exhaust. If you do not have someone to help you, use a screw jack to aid you in the process.
We are now ready to install our Tomei Expreme Ti System. I start by hanging the mid-elbow section on the passenger rear subframe hanger as this piece will serve as a way to hold the system together. The hanger only goes on one way letting you know which direction the piping will go.
Next up, I take my slip joint we created the other night and placed it over my downpipe. I follow it up with my old compression clamp from my previous exhaust. I put a provided clamp from Tomei over our adaptor that will hold the main pipe. I place another clamp on the elbow section. I take our main section and slide the rear of it into the elbow; the loose elbow allows me to push it back a bit, from where I can slide the main pipe into the adaptor and loosely tighten the clamps.
Time for the best part, the muffler. I carefully take the muffler section and insert it into the midsection. Make sure to face the logo upright, from here, have a friend hold the muffler just in case with a towel. Prepare your muffler band by expanding it and placing the provided rubber strip inside; this can be a bit tricky at first. Wrap it all the way around the muffler and be careful not to scratch it.
Slide the hanger into the rear passenger exhaust bushing and make your adjustments. The hanger should sit in front of the “Tomei” logo. When satisfied, close the hanger with your hands very tightly and use the provided nut to fasten it around the muffler. Now we are ready for the final step, making fitment adjustments and tightening everything.
I start by pushing the main section upwards in a twisting motion; this helps push the exhaust all the way up into the driveshaft tunnel. Once you see that the exhaust is entirely inside the tunnel, you are ready to tighten your clamps. Make sure not to over tighten them or they can and will break over time. Tomei has supplied this kit with six springs that hold the pipes tightly together.
Take a pick tool and place the end of the spring hook in one end of the pipe. Place your pick tool inside the hook of the spring and pull the spring towards the other hook and set into place. With all your springs in place, perform one last walk around to make sure everything is tight. The exhaust should not move at this point.
I do one last bolt check and breathe a sigh of relief as we have come to the end of our install.
First Impressions
Dead tired, I fired up my S550. The car comes to life as the cold start procedure begins. The sound this exhaust produces from this engine is something I’ve never heard. It’s very toned and has lots of base. Yes, that is the word I’d like to go with, there is a lot of bass in this exhaust, and I love it. With a few snappy revs, there are plenty of pops and bangs on deceleration.
On my journey home from the shop I get my chance to show an on-ramp who’s boss. In second gear the car was getting up to 4000 RPM, I smashed the pedal as I hear the Turbonetics NX2 Spool faster than I’ve ever felt.
The Tomei exhaust begins to scream the signature titanium sound as my Tial MVS 38mm wastegate flies open releasing a high pitch scream from the front engine bay. Clutch in, foot still down, I push up into third gear, and sidestep the pedal. I’m propelled back in my Bride ZETA as I watch the speedo near 100 MPH, this is too much fun.
This has to be one of the highest quality exhaust systems my hands have ever touched. From the packaging, the attention to detail, fit/finish and finally.. the sound. The torque band has increased dramatically.
I give this product a solid 10/10. To purchase your Tomei Expreme system, click the link.


 2010-2015 Chevrolet Camaro
 2016-2022 Chevrolet Camaro
 2005-2013 Chevrolet Corvette C6
 2014-2019 Chevrolet Corvette C7
 2020-2024 Chevrolet Corvette C8
 2015-2023 Ford Mustang EcoBoost
 2015-2023 Ford Mustang
 2024 Ford Mustang
 2017-2020 Ford F-150 Raptor
 2012-2018 Ford Focus
 2016-2021 Ford GT
 2017-2023 McLaren 720S