
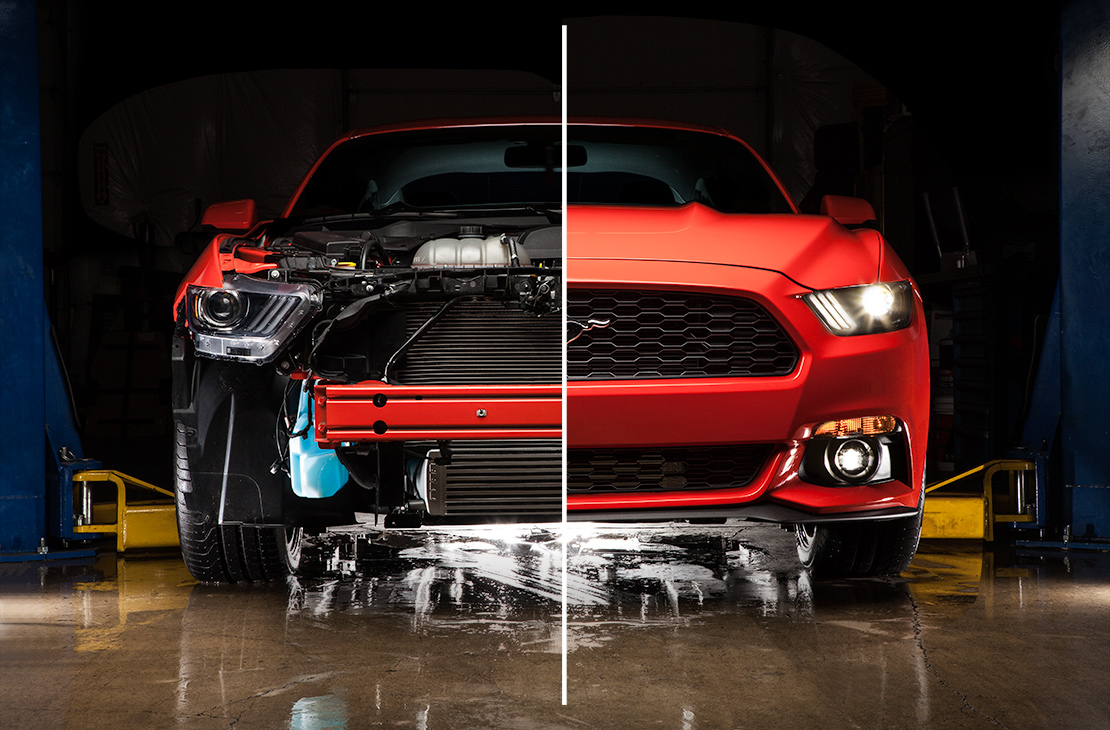

With our 10 days ceramic coating cure time nearly over and our debut at Autoclub Speedway approaching at the speed of light, it was finally time to head over to the shop to tear our Mustang apart for some much-needed track modifications. We’ll be installing a slew of parts which I have listed below, make sure to click on them!
- MGW X-Spec Short Throw Shifter with a standard throw and longer shifter rod
- Motul 300v Oil Change
- PD-Tuning Custom Tune
- Radium Engineering Breathe Plate
- UPR Products Custom Triple Catch Can System
- Voodoo13 Rear S550 Camber Arms
- Voodoo13 Rear S550 Vertical Links
- ZL1Addons Front Tow Hook
- ZL1Addons Rear Tow Hook
- ZL1Addons 2020 Ford Mustang GT500 Canards
- ZL1Addons Strap Paints


As some of you may know, we’ve been working on the “tune” on our Mustang for almost 3 years. Why did it take this long? Well, I do run both The Function Factory and Function Facotry Performance, I dislike wasting cash and these tunes are very time consuming as they are always custom. To just give you a quick background of how things played out, you’ll notice the video starts with our Mustang still Shadow Black. We starting tuning the car right after SEMA and the results were not promising. On a Mustang dyno, the car made 309 WHP / 350 WTQ on 91 and 350 WHP / 400 WTQ on VP Racing MS109.


Our Mustang drove well but just didn’t have that “UMOOF” I was looking for. Fast forward a year later, I was introduced to a tuner named Ryan Martin from PD-Tuning. He would soon discover that my car was plagued with problem after problem. The first tuning session we noticed that we could not control wastegate duty cycle… turns out the wastegate flap on our turbo had welded itself slightly open.


We quickly shipped out the defective unit and replaced it… for the 8th time I think. But remember, we were the guinea pig for this turbo and went through many hot side revisions.


With our brand new Turbonetics NX2 installed and my wallet crying, we went back to the rollers…to find another problem. Our Mustang made a happy 383 WHP on 91 octane, I was more than satisfied with that and decided it was time to put our efforts into the MS109 tune. Our first pull was met with a face full of oil from the valve cover. Our Mustang was not equipped with a catch can system. To help you better understand what happens when you put over double the pressure inside an engine that was not designed for it… oil starts to look for ways out and usually the valve cover gasket is the easiest for it. With my windshield covered in Motul oil, I angerly shut my laptop and went home to prepare a list of things I needed before going back.


With the design, install, and coating of our wrap, we lost over a month of time. This gave us 1 week before our debut at Autoclub. In that month we gathered all the necessary parts that I listed above to make our Mustang a track-ready beast… so we thought. Jacked up, blocked and on the lift post, we pop the hood to start our first install, our UPR Products custom 3 catch can system. Neil started by assembling the provided oil-resistant Continental braided hose lines with sleeves and exclusive push-button fittings which made it insanely easy to install and or remove. UPR’s billet dual valve oil catch can was the first modification to be installed near our strut mount. It is important to note that the OEM ground wire bolts BETWEEN the catch can and bolt head. Failing to do this and placing the ground wire between the chassis and catch will leave you with no power steering and every single dash light possible. The top of the catch can will connect to either your OEM breather plate or a Radium Engineering CNC breather plate. The plug facing the firewall will link up to our custom UPR Products provided Turbonetics NX2 intake coupler or your choice of coupler with the fitting. The front line will run under your throttle body.


Next up was our UPR Products clean side catch can. This can is designed to control any oil ingestion that happens at the inlet of the clean side gets its air from right before the turbo inlet at the front of the engine. This install was less than 10 minutes with the catch can bolting to the passenger side near the headlight. The front line goes to your OEM or cold air intake with the backward-facing line going to your valve cover. That line will include a new OEM VPS sensor as the UPR push lock line replaces the nasty OEM plastic lines.
To wrap up our catch can install, the last catch can to go in our Mustang would be the UPR Products billet engine breather tank oil separator. UPR provided us with some extra line that we cut down to size. We used the driver side strut to bolt the can down to. UPR additionally provided us with a wild-looking oil cap adaptor with a built-in check valve. Install was straight forward with the line connecting to the can directly into the oil cap adaptor.
Next up was our ZL1Addons front tow hook. Another straight forward installation with minimal cutting. We carefully removed my freshly wrapped GT350 bumper and set it aside giving us access to the bolt holes on the passenger side crash beam. Just remove those two, place your plate behind the crash beam and bolt it back in. We discovered we could NOT put our plate in the recommend spot as our intercooler was too large. To improvise, we placed the tow hook plate in front of the crash beam. This is not an ideal mounting point but it is mandatory to have these hooks for track days. With our bracket installed, we reinstalled our front bumper and marked where we needed to cut the mesh for our tow hook to screen in.


Moving to the rear of the car, it was time to install our ZL1Addons Rear Tow Hook. This took a DECENT amount of time as the rear crash beam is made out of metals that do not exist on this planet. This will require some SOLID drill bits to get through this puppy and expect it to take up a solid hour of your install time. Neil started by removing the plastic trim pieces from our trunk area to gain access to the rear tail lights. He removed both of the taillights giving us access to the rear bumper bolts. There are many small bolts holding the rear bumper to the chassis, make sure to zip all of them off before attempting to pull anything. Once loosened, the bumper will come off with a loud snap. Make sure to remove any wire harnesses before separating the bumper fully from your Mustang. We found exact center of our crash beam where our rear tow hook bracket would mount and marked our drill points. Removing the 4 bolts allowed the crash beam to come off and it was time to go to the drill press. About an hour later, we had 2 nicely drilled holes for our mounting bracket. Next, we mocked up our rear bumper to hole saw out for the tow hook to go through. This was fairly simple as the bumper is already marked from the factory at its exact center. All we needed to find was the height at which to drill. One mark and 2 seconds later, the hole was cut through our rear bumper. I recommend using a file to get rid of any large plastic pieces around your cut for a better appearance. Neil reversed his steps and our tow hook bracket install was complete.


Holding the lift button to go all the way up, it was time for a MUCH needed oil change. Upon inspection, our Motul oil had nearly lost all its viscosity, the last change was at over 12,000 miles! The Mustang Ecoboost requires 3 cans of Motul 300v and oil filter FL-910S. After a quick change of fluids, Neil and Austin started work on the rear suspension.
Now I’m going to be VERY serious with you all. DO NOT INSTALL THESE ARMS ON A DAILY DRIVEN CAR. They are too extreme for daily use. These are meant for purely drag strip, drifting or road course use. They will loosen up over time and bolt checks are required after every event. Road noise will increase significantly and because of the QA1 metal heims, my ride quality has diminished. The car drives like it’s on rails but the trade-off for performance isn’t exactly ideal. If you’re looking for adjustable arms, I highly recommend staying with either a poly or Delrin bushing. BACK to it, the install was straight forward once again, we removed our OEM camber and rear verticle links and matched the Voodoo13’s adjustable lengths to them. I would later take it to the alignment shop to get everything properly adjusted. 2 bolts hold on each arm and the install can happen within an hour to an hour and a half depending on your skill level.

After our adjustable arms were installed, next on our list was my ZL1Addons tie-down points. This took less than 5 minutes with power tools. Neil zipped off the rear, front subframe bolts and installed the front plate between the bolts and subframe. In the rear are two bolts near the rear subframe that allow the rear tie-down brackets to be installed. Cheap and HIGHLY effective for any and all trailers.. especially on our JIMGLO Ego.


Our most difficult install was our MGW X-Spec short shifter. I’d rate this install at about a 6/10 and if you have small hands, the job will be much easier. I highly recommend a lift but if you’re hellbent on getting it in your garage, it can be done on the floor. For this install, please click this link HERE. Our newest crew member, Chandler Pizzi has written a very detailed install with photos!


If you didn’t know, our Mustang weighed in at 3502 pounds. That’s not bad considering all of the minor weight reduction we’ve done to the car. With the said, I’ve never changed the front pads on this car and many of you know I have tracked this car for a considerable amount of time. Upon inspection, the OEM pads were completely destroyed. Hawk Performance Dynamic Torque Control Racing Brake Pads were my choice for stopping power. Again, DO NOT DAILY THESE. They produce an obnoxious amount of dust and squeal louder than our customers wanting their tracking number the next second. This install can take less than 30 minutes with the proper tools, without them, it can be a nightmare as you will need to push the brake pistons back into the caliper. Make sure to have a brake caliper clamp and everything will be okie dookie.


As we wrapped up my engine bay, refilled our fluids, we noticed that my OEM coolant tank had cracked from heat expansion. We called Moroso to overnight us their beautiful, hand-welded aluminum coolant tank as our replacement.


Every part was rechecked for torque and tightness. It was time to get our Ecoboost off the lift and back on the dyno to finally wrap up our VP Racing MS109 tune.

And we hit another wall.. which I’m decently happy with. Our full bolt-on Mustang Ecoboost put down a respectable 420 wheel horsepower and 420 foot-pounds of torque at 5000 DA. What wall did he hit this time? Fuel. We were out of it. Our stock, direct injectors were nearly maxed out and Ryan did not feel like we should throw any more timing at it. To overcome this issue and get us to that 460WHP number, we would need an auxiliary fuel kit that I honestly have no interest in. We fell 40 WHP short of our goal…. but when the tires touched the street, those number became highly irrelevant.


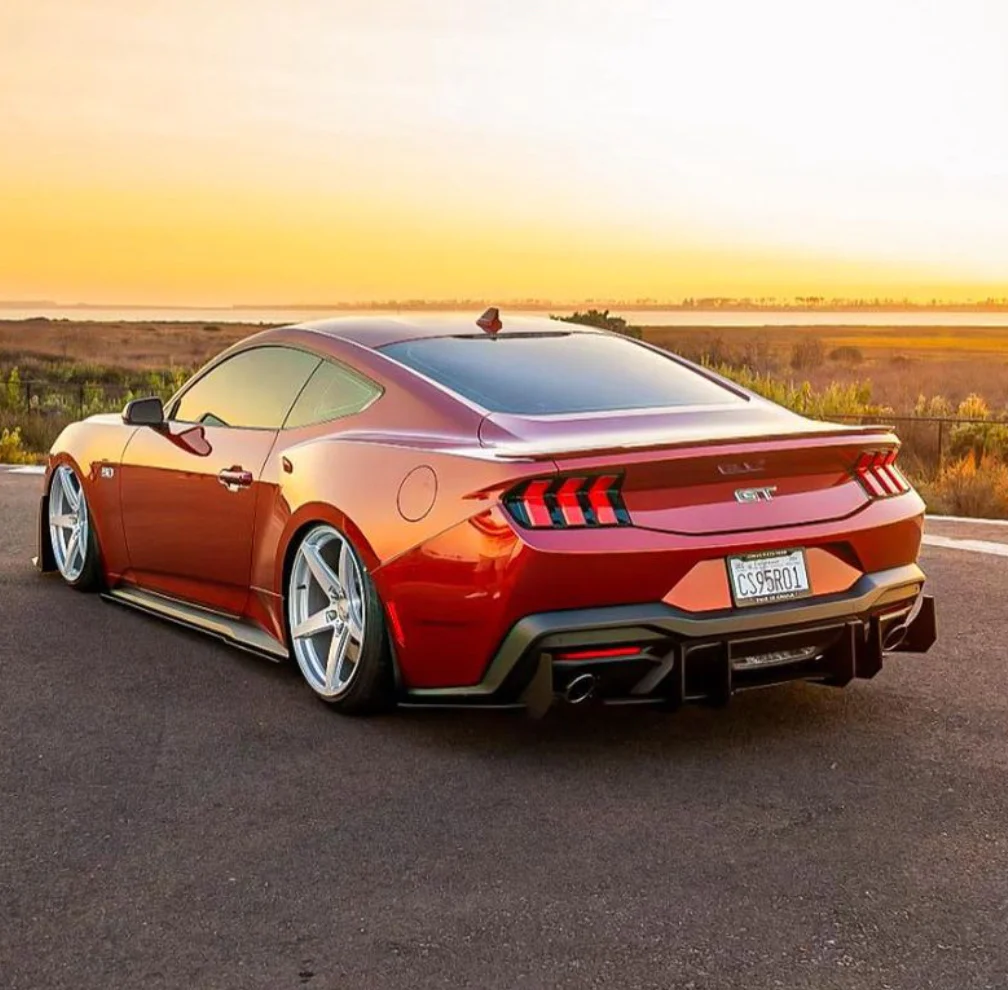
Last but not least, I headed over to an old friend of mines shop to install our ZL1Addons 2020 Ford Mustang GT500 canards. Beforehand, Vinyl Vixen and Wrapsesh AZ wrap these stylish looking side pieces with the same carbon wrap as my bumpers. I requested to have the pink on the edge of the canards which they executed perfectly.


So now what? Is it time? Oh boy? SURE FREAKING IS! We’ll be taking a small trip to Tucson, Arizona to Visit our friend Charlie over at Musselman P1 Honda Circuit to see if our Mustang can withstand her newly installed parts! In that same day, we’ll be drifting at Wild Horse Pass for some more testing. BUT WAIT, there’s more! After all that madness is done, we’ll be putting our brand new Toyo R888r’s on our Ceramic Pro coated Yokohama Advan GT Premium wheels, specially made for our Mustang. Stay tuned, tell your friends, tell your family, smash the like button and if you really want to show us some love, leave us a comment down below on how you feel about all of this. Questions? Feel free to ask, we’re available 24/7.. no seriously like, we’re open 24/7. OKAY SWEET, I’M OUT PEACE.

Social Media
Instagram: https://www.instagram.com/ffperformanceaz/
Facebook: https://www.facebook.com/ffperformanceaz/
Youtube: https://youtube.com/thefunctionfactoryaz
Sponsors
Ceramic Pro
JIMGLO Trailers
Full-Race Motorsports
Turbonetics
Toyo Tires
Competition Clutch
Ksport USA
Diode Dynamics
Anderson Composites
Mackin Industries
Hyer Quality Detail
Tomei
Voodoo13
Motul
Brey Krause
Street Faction
Vixen Vinyl
WrapseshAZ
 2016-2022 Chevrolet Camaro
 2005-2013 Chevrolet Corvette C6
 2014-2019 Chevrolet Corvette C7
 2020-2024 Chevrolet Corvette C8
 2015-2023 Ford Mustang EcoBoost
 2015-2023 Ford Mustang
 2024 Ford Mustang
 2017-2020 Ford F-150 Raptor
 2012-2018 Ford Focus
 2016-2021 Ford GT
 2017-2023 McLaren 720S