


Full-Race Motorsports 2017-2023 Ford F-150 Raptor EcoBoost V2 Intercooler Relocation Kit
The Full-Race V2 Intercooler kit is the most hardcore, highest-flowing charge air cooler (CAC) ever developed for the 2017+ Gen 2 / 2020+ Gen 3 Raptor and 2015+ Ford F-150 3.5L and 2.7L EcoBoost trucks. This kit comes with everything you need to increase performance for your Raptor and EcoBoost F-150 while supporting a variety of aftermarket bumper or winch upgrades. Each V2 intercooler kit features a 1000cfm internal flow rate (that’s 70% over stock), with <1psi pressure drop at 700+hp airflow.


Our 2017-2019 Ford Raptor and 2014+ Ford F150 V2 Intercooler Upgrade is the strongest and highest flowing intercooler ever developed for the F150 EcoBoost. Featuring aerodynamic cast end tanks with an updated core, the result is a whopping 20% increase in flow compared to our V1 units. Each and every unit is leak tested to 50psi (even small pinhole leaks can lose power). However most customers who buy this intercooler use it to fit aftermarket bumpers or winches – so if you are planning to install a winch or steel bumper, this upgrade is mandatory!
Required Tools:
- Ratchet w/ 7mm, 8mm, 10mm, 11mm, 13mm, 15mm Sockets
- 8mm, 13mm Wrenches
- T27 Torx Bit – E6 External Torx Socket (if relocating adaptive cruise module)
- 3mm and 5mm Allen Wrench/Socket
- Masking Tape
- Cutoff Wheel (or small reciprocating saw)
- Hand Grinder
Note 1: This entire job can be performed with the truck on the ground – No need to raise the vehicle. The most difficult part is removing the grille shutters. First-time installation typically takes 4-5 hours. Once you are familiar with the process, the installation can be completed in 2 to 3 hours. Having 2 people speeds things up.
Note 2: While the front end is apart for IC installation, now is also an excellent time to upgrade Radiator and transmission cooler!
Installation Procedure
1. Park the vehicle on level ground and set E-brake. Open the hood & disconnect the negative battery terminal. For vehicles equipped with Skid plate, using 13mm and 15mm sockets, remove the skid plate mounting bolts, then unbolt and remove the OEM skid plate.

2. Unbolt lower factory intercooler support. Remove factory intercooler and CAC cooling fan from the vehicle. It may take some effort to get the intercooler inlets/outlet out of their couplers. Do Not Lose Rubber Intercooler Isolator Bushings – these will be reused.

3. ONLY If relocating your Adaptive Cruise Control Module, use your hands/fingers (no tools) pull off the front plastics from front bumper. Skip this step if not applicable

Using an 11mm socket, remove the three mounting nuts for the adaptive cruise module.

Then, unplug the module and use an E6 external torx socket to remove the three mounting studs. Remove the module for relocation.

4. Unplug IAT sensor after airbox. Using a 7mm socket, loosen clamps and remove Intake tube from airbox

5. Remove the push pin retainers, remove the radiator air deflector and intake inlet. Save clips for later – do not lose them

Remove the clips holding the grill cover and intake inlet. Gently pry the center up until it unlocks, then pull on the larger round base to remove. Save clips for later – do not lose them

6. Using 10mm socket, remove 4 10mm bolts that hold grille assembly to core support. Remove four 10mm bolts that hold grille assembly to core support.

7. Disconnect the two electrical connectors and washer hose underneath radiator air deflector. Also unclip the grille harness plastic push-clip from grille.

8. Remove clip from the top of the headlight surrounds, there will be one on each side. Remove the headlamp assembly trim panel.
- Remove the pin-type retainer.
- Starting at the inner edge, release the headlamp assembly trim panel clips.
- Starting at the outer edge, release the headlamp assembly trim panel.
- Using a flat-blade screwdriver release the locking tabs and remove the headlamp trim panel.

9. Unplug the electrical connections by the hood latch.

10. Gently pry on headlight surrounds by hand only, starting from the side closest to the grill. They don’t have to be removed entirely, but it will make grill removal and installation easier.

11. Remove 3 christmas tree clips from each side of grille assembly.

12. Remove remaining bolt from each side of the grille.


13. Lift and remove grille assembly out of vehicle.


14. Remove –or- Trim plastic shroud below the radiator. There are Christmas tree clips that hold it tight under the radiator (these can be difficult to access). You can use a razor blade or 3.5” hole saw if this will be retained

15. Unbolt two 13mm bolts that hold the upper intercooler support to the frame. Unbolt shutter system for intercooler: four 8mm bolts hold it in place. Two on the top that goes into the frame rail, and two that are accessible by removing the black plastic covers on the front bumper. From below the truck, Unplug intercooler fans and unplug shutter system

16. Using 7mm socket, separate factory hot-side charge pipes from the intercooler. Unhook eBOV recirculation tube from Intake Pipe & Intercooler, then unplug eBOV electrical connector.

17. Next, we must remove the charge pipe from intercooler and engine bay. First, unplug TIP sensor from factory throttle body pipe and unhook EVAP hose fitting. To disconnect the EVAP fitting pinch the two exposed tabs while pushing down on them. Loosen both clamps on the throttle body coupler. Remove throttle body pipe from the vehicle.

Remove clip at intercooler cold side connection on the driver side.

Loosen the clamp at the throttle body.

18. remove CAC from the vehicle. Use 8mm socket to Remove eBOV canister screw (#1) if this will be reused.


19. Now is also a good time to remove the intercooler scoop mounting bolts and then the scoop itself (a wrench is required to access bolts)

20. Using a T27 Torx bit, remove TIP sensor from OEM cold side charge pipe. Reinstall sensor to new throttle body pipe with supplied bolt. Loosely install 3” straight coupler and two 3” T-bolt clamps to throttle body.

21. Using 10mm socket, unbolt drivers side trans cooler, to allow the Adaptive Cruise Control Module harness to slip behind it. Retighten. NOTE: this is also a good time to upgrade!

22. Install Full-Race intercooler mounting beam in place of OEM intercooler mount – reuse OEM hardware.

23. Install all four factory rubber mounting isolator bushings from OEM intercooler onto Full-Race intercooler.

24. Set Full-Race intercooler with isolator bushings onto the mounting beam. Remove bolts from the hood latch, install included hood latch bracket onto Full-Race intercooler & bolt in place. Bolt bracket on top of the latch.

25. At this point, the Intercooler should be installed in the truck and ready for charge piping to be connected.

26. Install eBOV recirc valve on the new cold side charge pipe: Transfer the factory electronic BOV from the factory intercooler over to the BOV charge pipe. Use the supplied bolt to fasten BOV to the new pipe. Plugin EBOV once installed in the vehicle.

27. Install Cold Side THROTTLE BODY charge pipe, and E-BOV pipe. Loosely install 3” straight coupler and two 3” T-bolt clamps to throttle body. Install throttle body pipe into the truck. Install the supplied 3” hump coupler over the other end of throttle body pipe along with a 3” T-bolt clamp. Install the intercooler outlet pipe. Double-check to align everything until happy with fitment.28. Install supplied 2.5” couplers and T-bolt clamps onto factory hot pipes on the passenger side of the truck – these are the ones that had the blue couplers on them. Then install the supplied Y-pipe on the passenger side of the truck. Do not fully tighten yet.

2017+: Install 3” 45 couplers and T-bolt clamps onto the supplied Y-pipe and BOV pipe.

2015-2016: Install 3” Straight couplers and T-bolt clamps onto the supplied Y pipe and BOV pipe.

29. Once all charge pipes are oriented, Tighten all T-bolt clamps to 44lb.in / 5Nm. DO NOT OVERTIGHTEN CLAMPS, IT CAN CRUSH ALUMINUM CHARGE PIPES
30. Remove shutter system from factory grille. This increases engine cooling and provides clearance for the oversized intercooler. Start by removing the outer post from its hole by bending the plastic shutter until there is enough clearance to release the peg. Then, rotate the shutter toward the front of the grill to release inner post.

31. Separate the active grill shutter from the radiator grille. There are 4 pop up clips on the top of the grille, 4 nuts on the backside and a long bolt in the middle of the shutter system on the backside.


32. Remove the motor for the shutter system, leaving plugged in and zip tie to the side to avoid a check engine light.

33. Pry the shutters out of the grille backing, then lay down some masking tape for your trim lines. You want to keep the post on the bottom tall enough so you can remount the ambient air temp sensor.

Reference the photo below for how much to trim. You will cut an inch out of the bottom so this piece can fit around the new intercooler.


34. Reinstall grille onto the trimmed piece using the OEM hardware, minus the center bolt. Be sure to reinstall the ambient air temp sensor at the base of the trimmed plastic.35. If your truck is equipped with Adaptive Cruise Control module, remove the unit from behind plastic trim piece on the driver side of factory bumper as noted in step 3. Install adaptive cruise module to supplied Full-Race bracket using supplied M8 bolts, and install onto intercooler using supplied M8 bolts. As mentioned in step 21, route the wire and plug for the adaptive cruise control module behind the factory transmission cooler. NOTE: Lastly, it’s a good idea to use forscan to recalibrate the sensor. Make certain the sensor is leveled vertically by placing a level on the face and adjusting the bracket.

36. OPTIONAL: To recirculate the eBOV bypass air, connect AC Delco 26309X tube (not included) to eBOV quick disconnects: Remove factory E-BOV recirculation line from the bottom of the intake tube. Separate the plastic quick disconnect fittings. Using 1” heater hose, AC Delco 26309X extend to intake tube. (credit to Paul Haskew for finding the perfect hose that fits without cutting).If not recirculating, use rubber cap to seal the intake barb. If using an aftermarket BOV in place of OEM eBOV, make sure to plug in the eBOV as it was intended and zip tie it off to the side.


37. Double-check that everything is tight, secure and plugged in. Reinstall grille assembly in reverse order of disassembly. Be sure to plug in all connections by the hood latch. Go over all work, ensure there is nothing overtightened or loose/disconnected before reinstalling grille, skid plate, grille, headlight surrounds, and plastic front bumper pieces.


Social Media
Instagram: https://www.instagram.com/ffperformanceaz/
Facebook: https://www.facebook.com/ffperformanceaz/
Youtube: https://youtube.com/thefunctionfactoryaz
Email: Sales@FFPerformance.co
Phone: 480 576 8606
 2016-2022 Chevrolet Camaro
 2005-2013 Chevrolet Corvette C6
 2014-2019 Chevrolet Corvette C7
 2020-2024 Chevrolet Corvette C8
 2015-2023 Ford Mustang EcoBoost
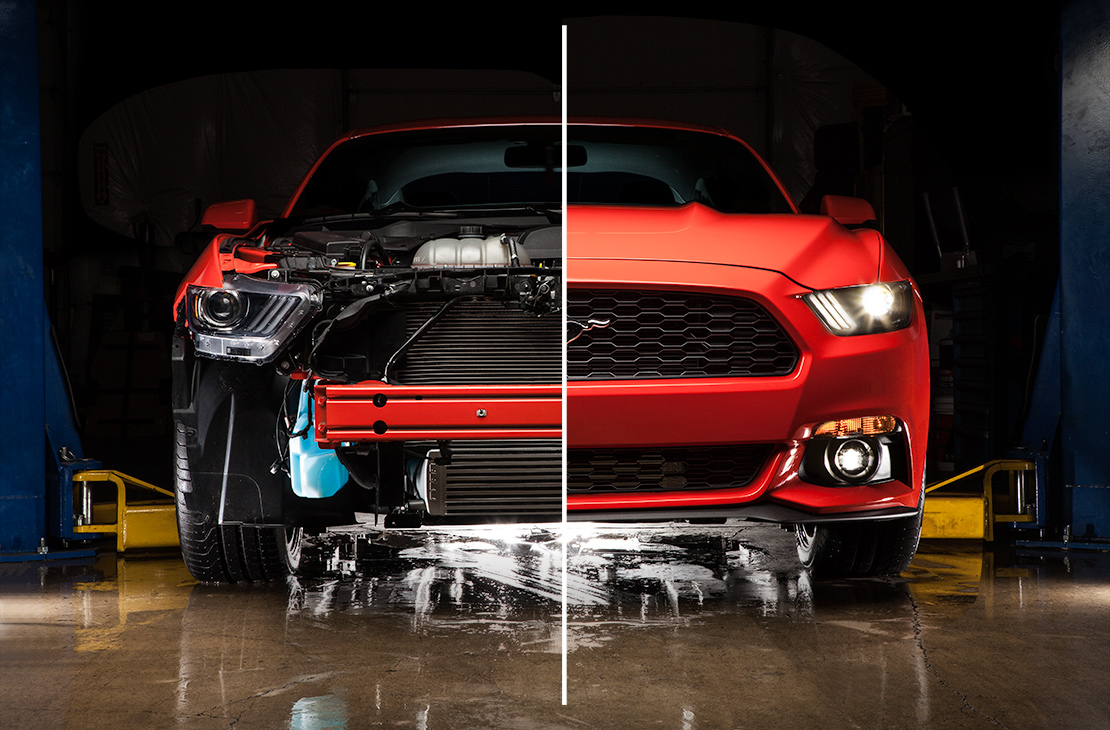
 2015-2023 Ford Mustang
 2024 Ford Mustang
 2017-2020 Ford F-150 Raptor
 2012-2018 Ford Focus
 2016-2021 Ford GT
 2017-2023 McLaren 720S
Is this correct install guide for the 2017 F-150 3.5 eco boost Intercooler relocation kit…..
Hello, yes it is!