
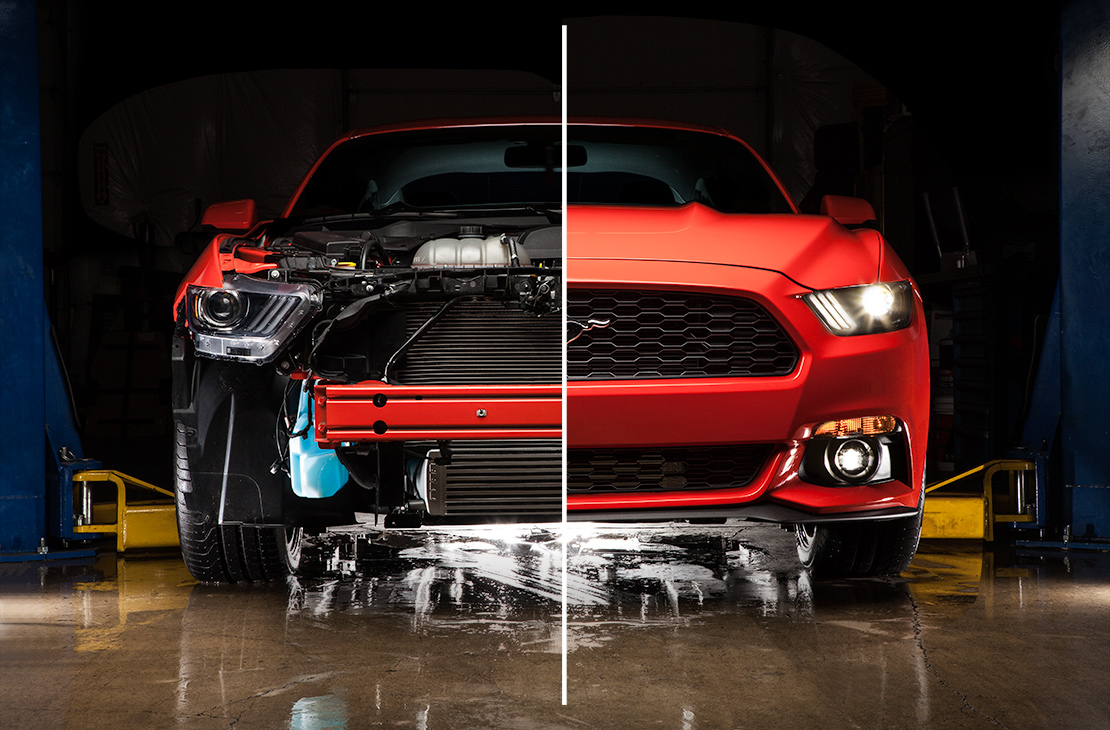

Have you ever had a charge pipe blow off, leaving you stranded with a little boost? Well. For me, it was in the middle of winter while I was 300 miles away from home, and it also happened to be 2 a.m. The stock charge pipes are very prone to blowing off, which causes the car to have a massive boost leak. Full-Race has engineered its charge pipes with perfection in mind. The quality of these charge pipes was unreal; from the mandrel-bent aluminum tubing and durable black powder-coated finish to the T-bolt clamps rated for 200psi, this kit was made to impress.

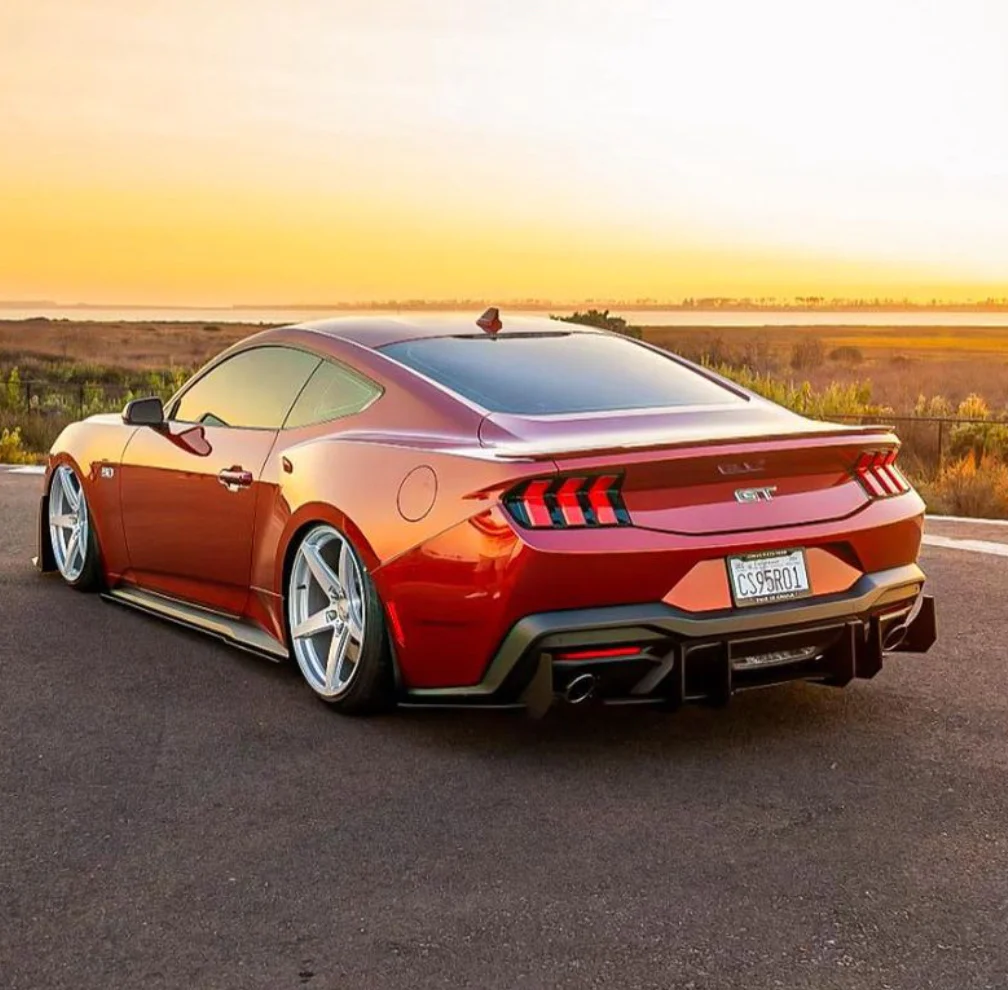
Full-Race Motorsports 2015-2021 Ford Mustang EcoBoost Charge Pipes
We decided to choose the HKS SSQV IV BOV for this particular Mustang. These charge pipes are manufactured with aftermarket blow-off valve flanges, so we will also replace the factory E-BPV. There are three options (HKS, TurboSmart, and Tial) that you may choose. Whichever one you pick is bound to be great! The HKS offers a high-quality aluminum die-cast body, combining the ultimate in looks and durability in the engine compartment. The triple-fin design also offers a unique sound with a “jdm” experience. The optional fins may also be removed and changed, resulting in different sounds!

Installation:
The Full-Race charge pipes and HKS SSQV are relatively simple to install. Essential hand tools are all that is needed. For the HKS install, you will need a good set of internal snap ring pliers. Setting aside 1-1.5 hours would be wise. This can be done with the vehicle parked on a level surface. I do recommend putting the car on jack stands if the vehicle is lowered to allow more room to work. These charge pipes will be installed on factory and aftermarket intercoolers.
- First, we will start by removing the lower skid plate. There are 3 plastic push pins on each side of the plate. Remove these and then work on the 16 bolts. You will need a 7mm socket with a small extension. There are 12 bolts along the front, 2 in the middle, and the last 2 hold up the rear. Once all the bolts are removed, you will push the skid plate toward the back of the vehicle and slide it out.

2. We can now work on removing the old charge pipes. Start with the cold side charge pipe, this is the pipe that connects to the throttle body. Loosen both OEM clamps using a 7mm socket.


3. You may pull out the OEM charge pipe once both clamps are loose. I found it easier to pull it through the bottom.
4. Now, we will use the 2.5″-2.75″ transition coupler provided and install this coupler on the throttle body. Use the 2.75″ T-bolt clamp to attach the coupler to the throttle body. Mounting the coupler and then bringing the charge pipe up from underneath the vehicle will be easier. Don’t forget to put the clamps on before mounting the pipes. Do not tighten any clamps just yet.

5. You may now go underneath and install the other side of the charge pipe. You will use the 2.5″-2.5” short hump couplers.

6. We can now work on the hot side of the charge pipe. Before anything, we must install the blow-off valve of your choice with the charge pipe out of the vehicle.
HKS Install Only: Install the provided O-ring in the groove. Take the snap ring and spread it out so it is over the flange. I recommend finding a friend and having them push down on the BOV while you install the snap ring into the grove. Make sure the side with the flange is facing upwards. This can take some force. I also recommend taking a small flathead screwdriver to lightly tap the all around the snap ring to ensure it is in place.

7. We can now remove the factory hot side charge pipe. First, remove the factory re-circulation hose from the OEM E-BPV to the intake. One metal clamp needs to be removed on the intake; this hose can be pulled off.
8. We can start by loosening the OEM clamps on the turbo and the intercooler. You will need a 7mm socket.


9. Pull the charge pipe off the turbo and slide it up through the engine bay once loosened. Ensure you unplug the OEM E-BPV; a plug connects to it and needs to be disconnected.
10. We can now put the Full-Race hot side charge pipe in the vehicle. I also found it easier to mount the rubber grommet on the turbo and slide the charge pipe in from the engine bay. The 2.5″-2″ transition coupler will be used on the turbo side along with the 2″ T-bolt clamp.

11. We now slide the hot side charge pipe onto the intercooler using the 2.5″-2.5” short hump couplers

12. Once this is done, we will tighten all T-bolt clamps using a 7/16 socket. Torque these to 44lb, in / 5Nm. DO NOT OVER-TIGHTEN CLAMPS; THEY CAN CRUSH ALUMINUM CHARGE PIPES!
13. We will now set up our blow-off valve. You will need the TurboSmart Boost Reference Adapter and Turbosmart CEL Defender Plug to install an aftermarket BOV.
14. Below is the link to Turbosmart’s instructions for installing the BRA. I highly recommend you look at their step-by-step tutorial posted below.
Install Boost Reference Adapter

15. Once you have your chosen BOV installed. Plug the CEL Defender into the plug that the OEM E-BPV connects to. Also, d
You can now go for a drive and be worry-free about boost leaks while smiling like a 3-year-old when you let off the throttle. This setup is killer! These charge pipes look great under the hood and remove the issue of leaving you stranded with charge pipes that have blown off. The Full-Race kit replaces the stock E-BPV and the restrictive, factory hot and cold-side piping for improved airflow and the ability to manage higher boost levels!
The HKS BOV is an excellent addition if you want to make a statement. The noise the HKS makes is not something the Mustang should produce, but it works! Before your tuner gets mad, grab a set of these charge pipes and replace the factory E-BPV for more consistent boost levels.
Social Media
Instagram: https://www.instagram.com/ffperformanceaz/
Facebook: https://www.facebook.com/ffperformanceaz/
Youtube: https://youtube.com/thefunctionfactoryaz
Email: Sales@FFPerformance.co
Phone: 480 576 8606
 2016-2022 Chevrolet Camaro
 2005-2013 Chevrolet Corvette C6
 2014-2019 Chevrolet Corvette C7
 2020-2024 Chevrolet Corvette C8
 2015-2023 Ford Mustang EcoBoost
 2015-2023 Ford Mustang
 2024 Ford Mustang
 2017-2020 Ford F-150 Raptor
 2012-2018 Ford Focus
 2016-2021 Ford GT
 2017-2023 McLaren 720S