


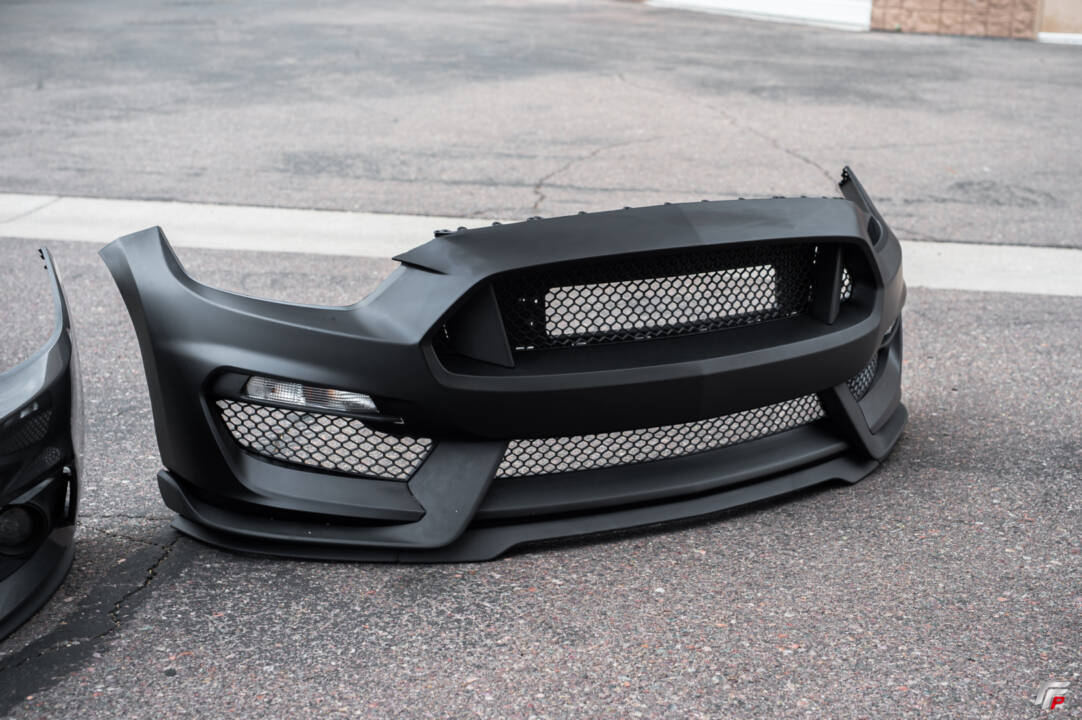
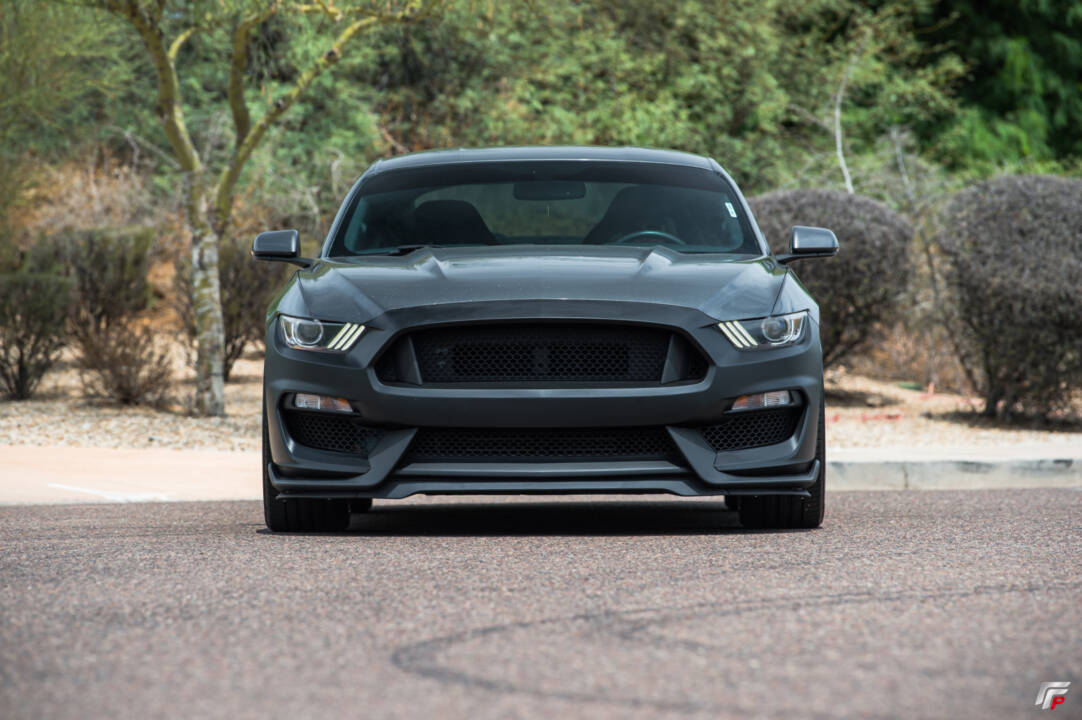
After months of waiting, we finally have our new Function Factory Performance 2015-2017 GT350 style conversion bumpers and the long-awaited instruction manual. In the next coming weeks, we will have the instructions for the GT500 style front bumper for you 2015-2017 Mustang owners and the 2018+ owners uploaded.
*Please read this entire installation manual carefully prior to installing and using this Function Factory Performance product.
Function Factory Performance products should only be installed by persons skilled in bodywork or other car parts. The instructions provided in this manual should be followed to ensure proper installation and safe use of the Function Factory Performance product. Function Factory and/or its partners shall not be held liable for any damage or personal injury (including direct, indirect, or consequential damage) sustained due to improper installation of the Function Factory Performance product or its use and maintenance contrary to the instructions and warnings contained herein. If you have any questions regarding the installation and/or proper use of the Function Factory Performance product or this manual, don’t hesitate to contact Function Factory Performance.
GENERAL INFORMATION
All statements regarding the product are made regarding the product “as is.” Any modifications of the Function Factory Performance product or its improper installation, use, or maintenance that do not follow this Installation manual may result in severe damage to the product and/or vehicle, as well as personal injury. Damage caused by improper installation, use, and maintenance of the Function Factory Performance product is not covered by warranty. Please refer to our website in regard to the terms of our warranty here: https://ffperformance.co/factory-service/warranty/
BEFORE BEGINNING THE INSTALLATION OF YOUR NEW FFP PRODUCT, PLEASE MAKE SURE ALL ITEMS BELOW ARE READ
This instruction manual is product and year specific, indicated on the cover page. Installation procedures will vary for the year of your car. Please verify that your Function Factory Performance product and this installation manual match your car. Ensure that you have all the parts necessary to install your new Function Factory Performance product using this instruction manual. If any of the parts are missing, please do not proceed with uninstalling your stock parts/installing the FFP product and contact Function Factory Performance. *If your car has fog lights, they will not be reused. Instructions may vary slightly between models with additional options equipped.
Parts Included:
- QTY 1 – 2015-2017 FFP GT350 Style Conversion Bumper
- QTY 1 – Left* Upper Grille Insert
- QTY 1 – Right* Upper Grille Insert
- QTY 1 – Upper Grille
- QTY 1 – Upper Grille Cooling Plate
- QTY 1 – Left* Side Grille
- QTY 1 – Right* Side Grille
- QTY 1 – Lower Grille
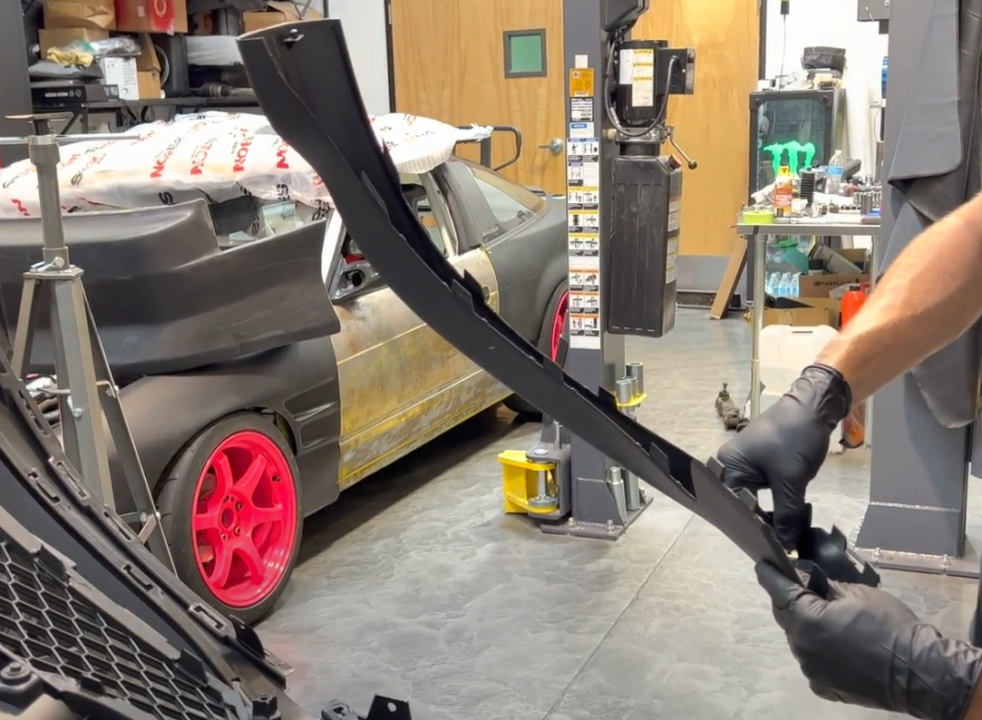
- QTY 1 – Left* Front Dive Plane
- QTY 1 – Right* Front Dive Plane
- QTY 1 – Left* Front Splitter
- QTY 1 – Right* Front Splitter
- QTY 1 – Middle* Front Splitter
- QTY 4 – Undertray L Brackets
- QTY 10 – Coarse Thread Phillips Head Screws
- QTY 10 – Fine Thread Phillips Head Screws
- QTY 10 – Washers
- QTY 10 – 8mm Nuts
- QTY 11 – Metal Flat Clips
- QTY 7 – Fine Threaded Screws and U-Clips
Tools Needed:
- Trim tool or flathead screwdriver
- 5.5mm socket
- 7mm socket
- 8mm socket
- Ratcheting wrench
- Philips screwdriver
Removal Procedures:
1: Open the vehicle’s hood and remove the front wheels to begin removing the OEM front bumper.
2: Remove the OEM body trim clips that retain the fender liner with a trim tool or a flathead screwdriver to remove the fender liner.


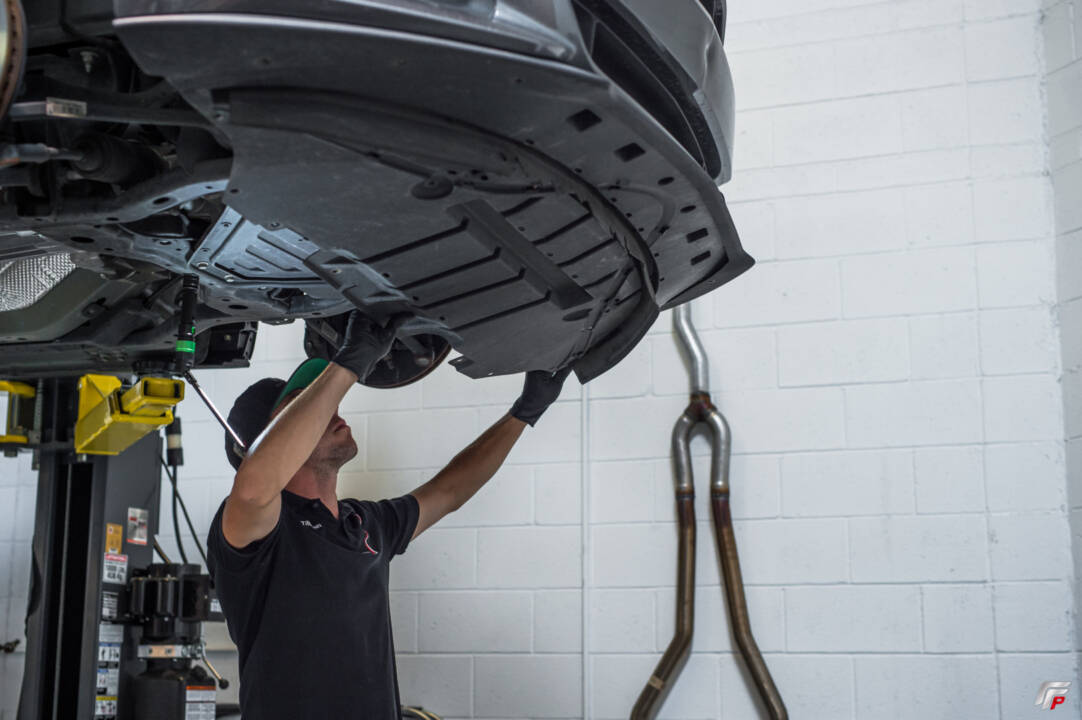
3: Proceed to the underside of the vehicle, and begin removal of the front under panel with a 7mm ratcheting wrench. Remove the (QTY 16) 7mm screws.

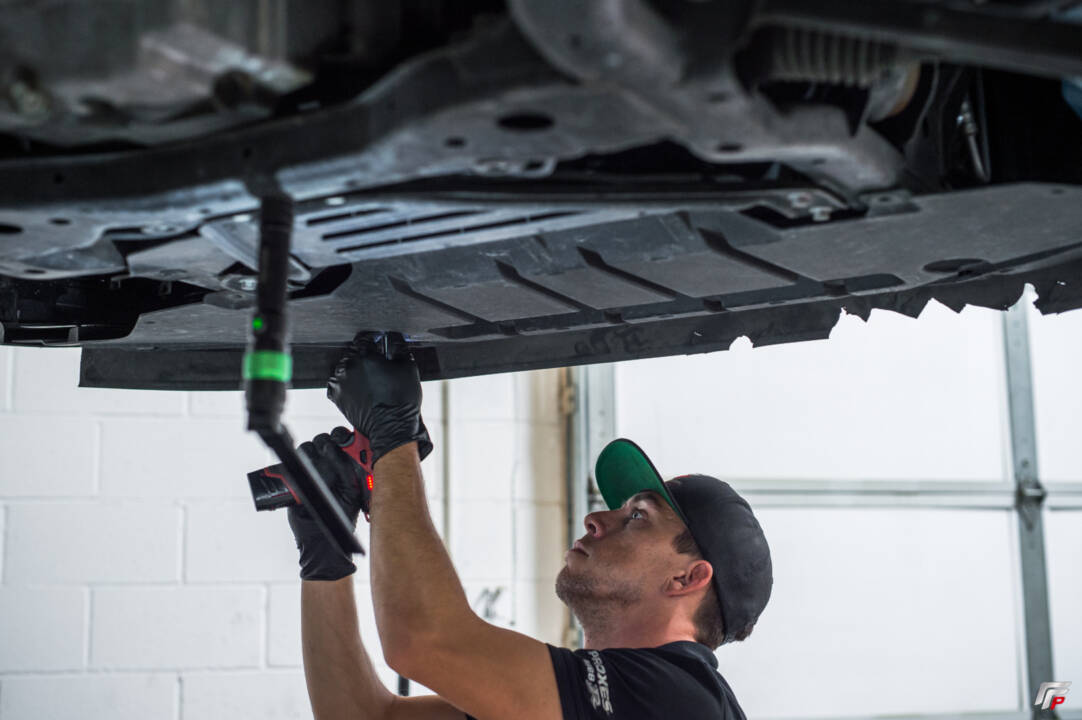
4: Remove the two OEM body trim clips left retaining the under panel and remove the under panel from under the vehicle.

5: Proceed to the fender area where the fender liner was removed.
6: Unplug the turn signal and fog light harnesses from the driver and passenger sides if applicable.
*If the vehicle is equipped with fog lights, they will not be reused


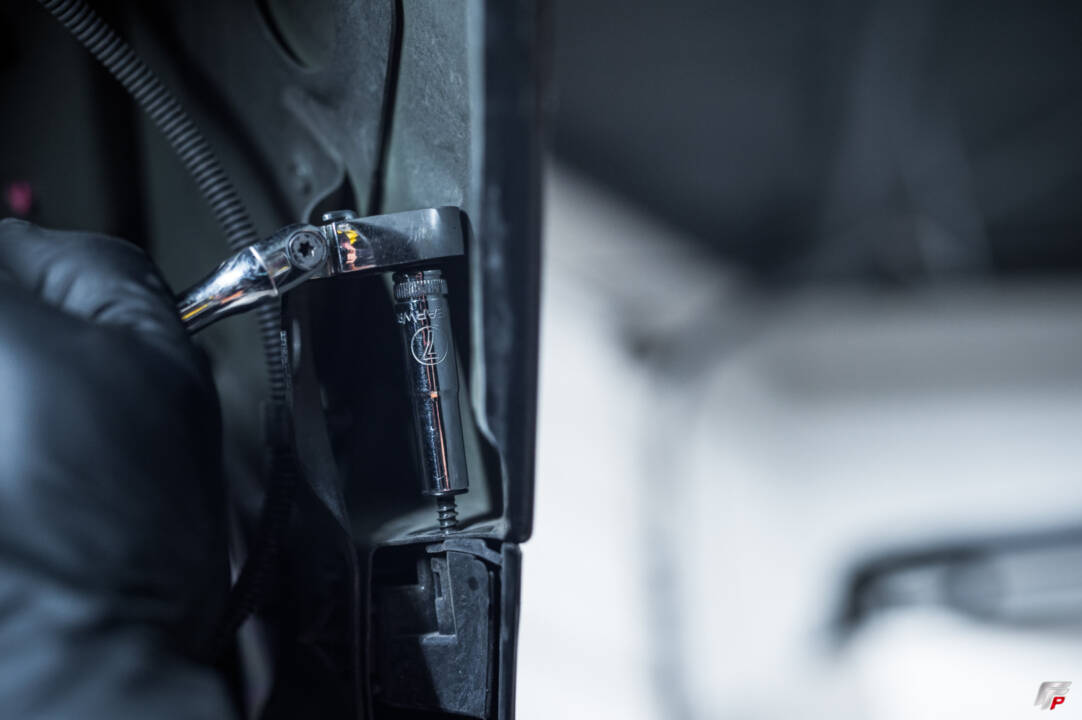
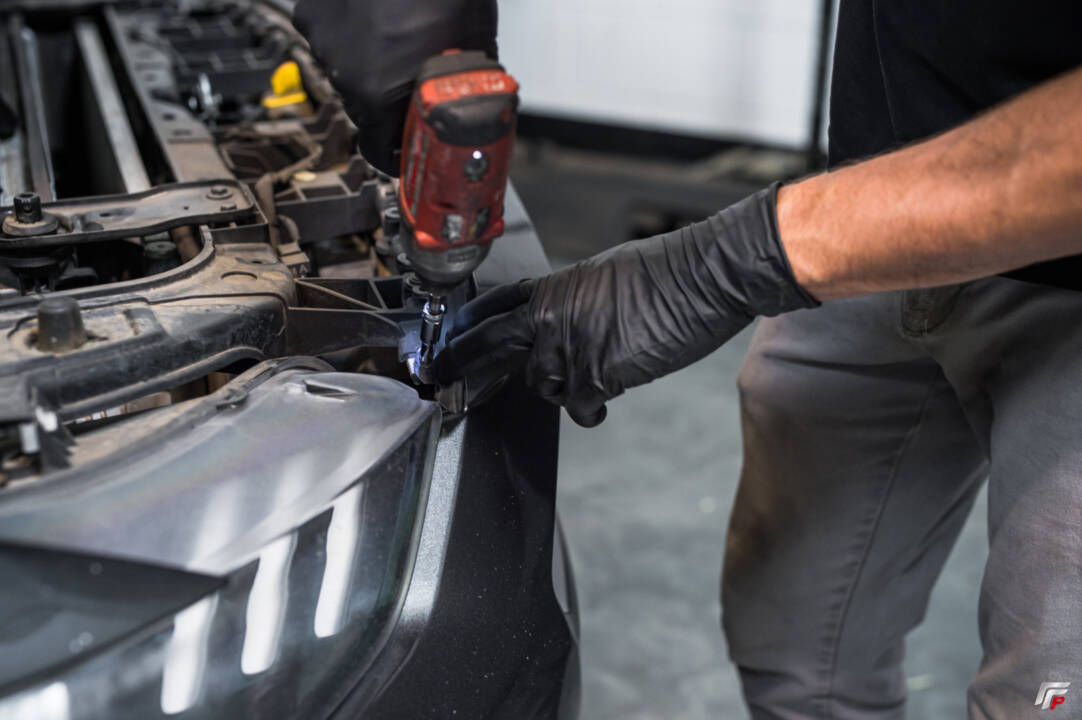
7: Remove the 7mm bolt inside the fender on both driver and passenger sides as these retain the bumper to the fenders.
8: Moving under the hood of the vehicle, remove the 8 plastic clips from the beauty cover and remove the beauty cover from the vehicle.


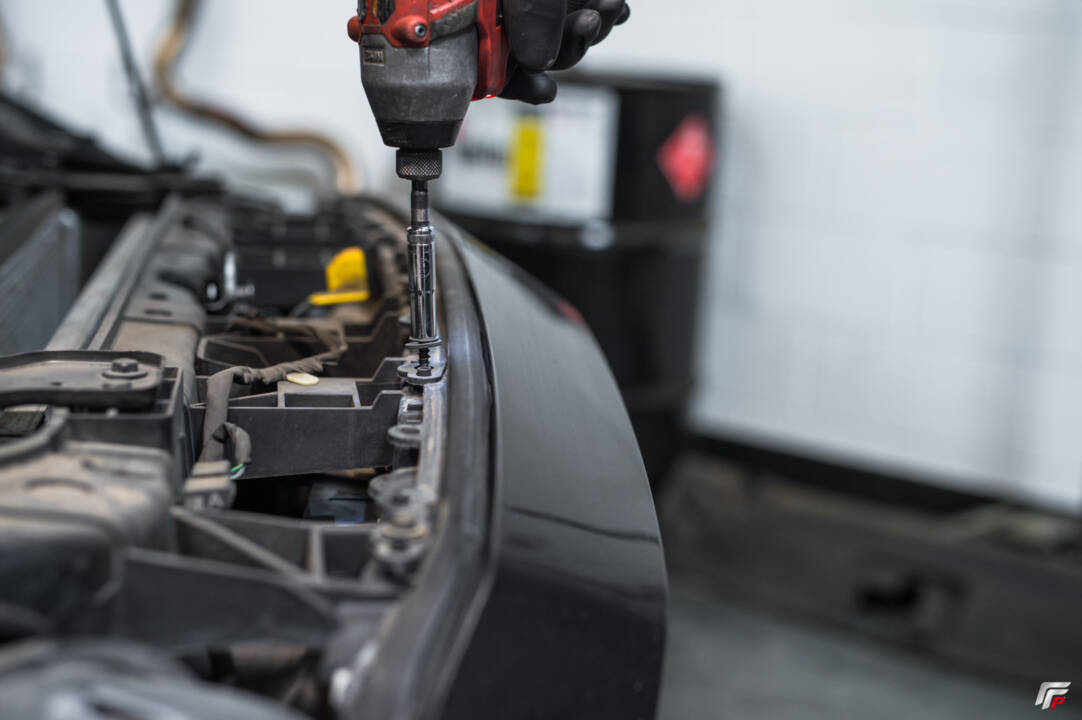
9: Remove the (QTY 6) 8mm bolts across the top of the front bumper.
10: Remove the (QTY 2) 5.5mm bolts between the headlight and front fender.
11: Proceed to the side of the vehicle, and pull straight out on the outer bumper tabs to release the bumper from the front fender locks.
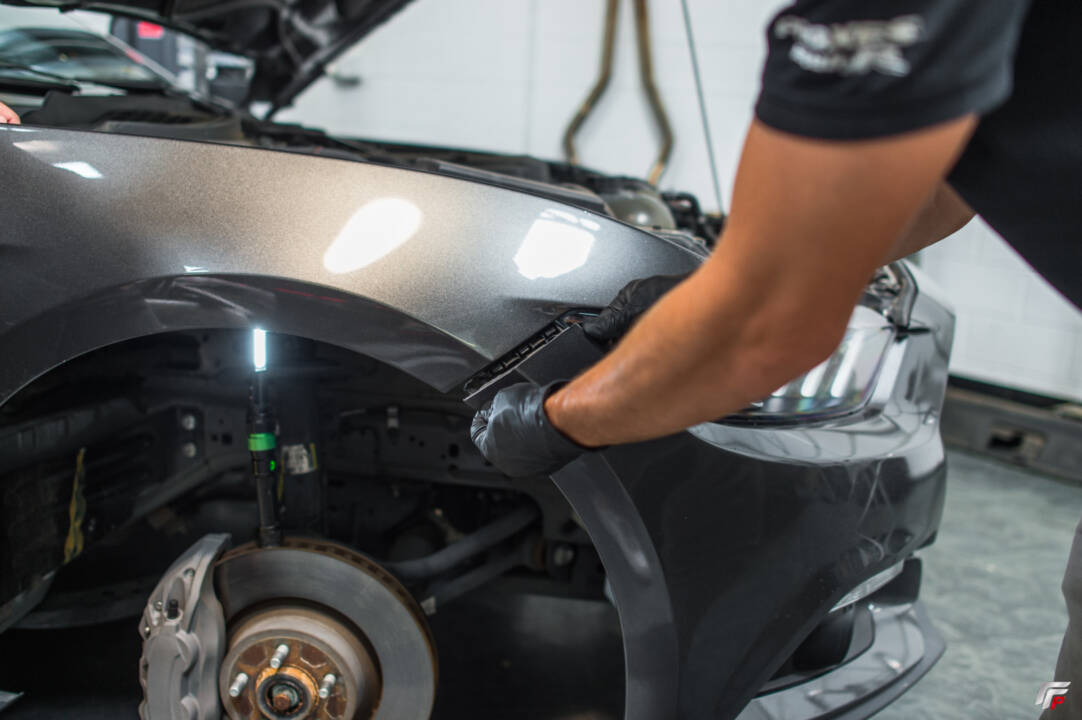
12: At the front of the vehicle, lightly lift upwards and pull the bumper outwards to remove the front bumper completely.
13: Set the bumper aside on a body rack or any material that will not damage the finish.


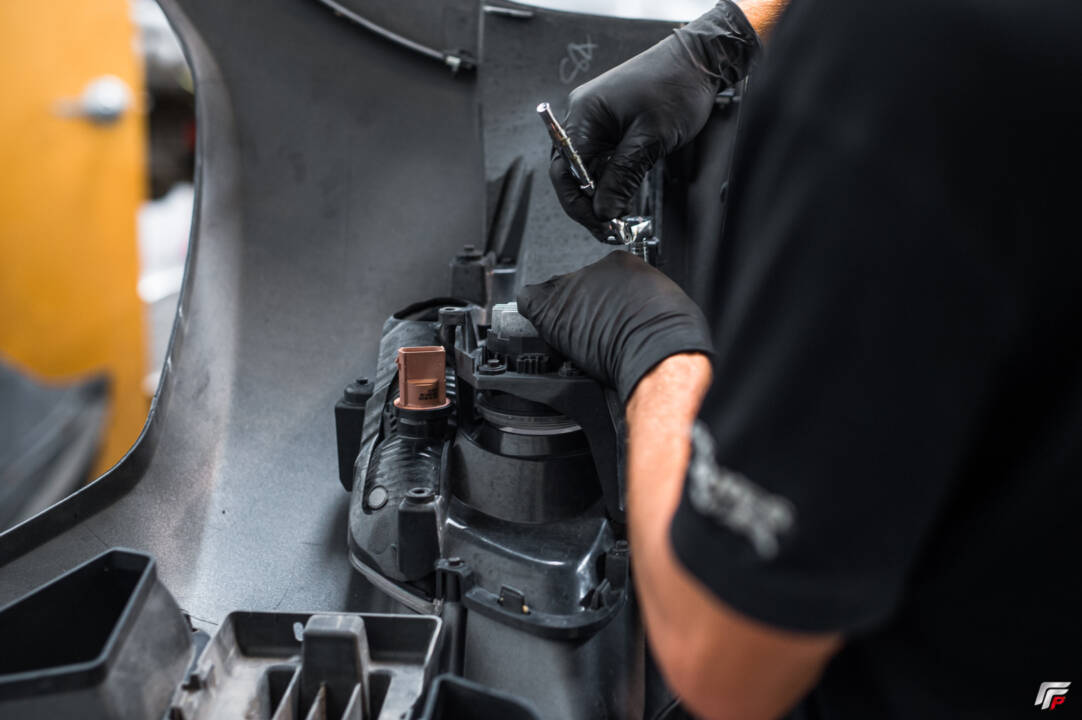
14: After turning the OEM bumper to see the inside, remove the (QTY 6) 7mm bolts retaining the turn signal housing and remove the main housing.
15: Following removing the housing, remove the (QTY 3) 7mm screws to remove the turn signal from the housing (removal may vary as this car is equipped with fog lights).

Bumper Assembly Procedures:
1: Install the OEM turn signal (Aftermarket if opt) to GT350 Style Side Grilles with the (QTY 3) 7mm OEM bolts.
2: Clip Side Grilles into the new FFP GT350 front bumper.
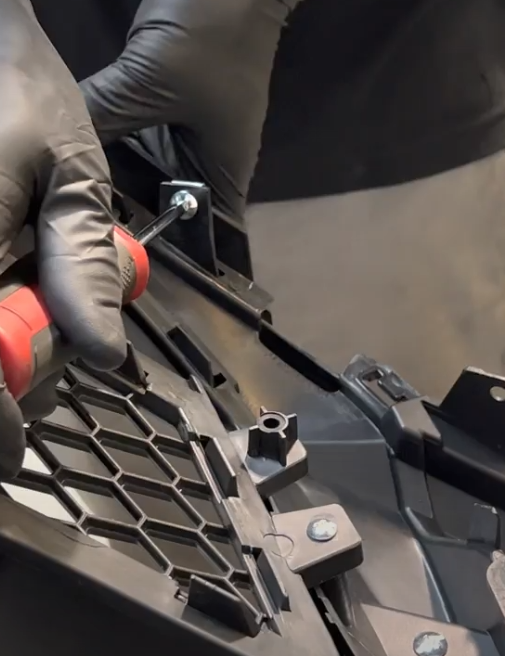
3: Use (QTY 2) coarse thread screws (QTY 1) for each side of the front side grille and repeat for the opposite side. Tighten hand tight.
*Disclaimer install the turn signals before the side grille installed as they will not install from the front

4: At the top of the turn signal bracket, there is a hole for the bracket and bumper to meet for added rigidity; this will be held together with (QTY 1) Fine thread screw, washer, and 8mm nut. Tighten hand tight using a Phillips screwdriver and 8mm wrench and repeat for the other side.

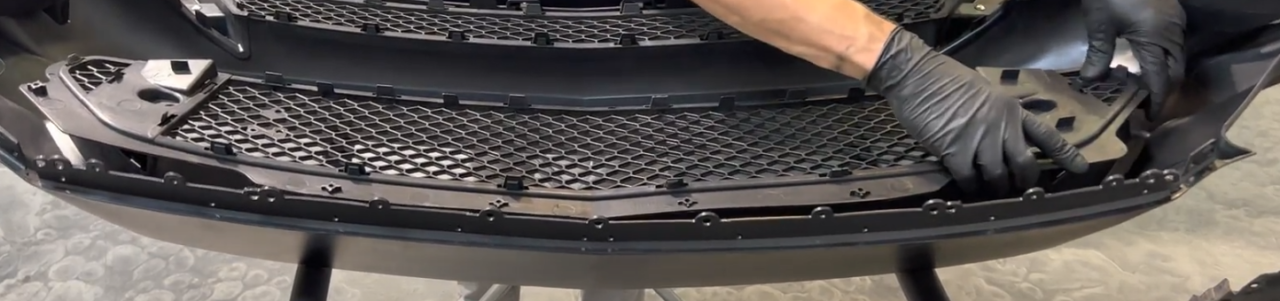
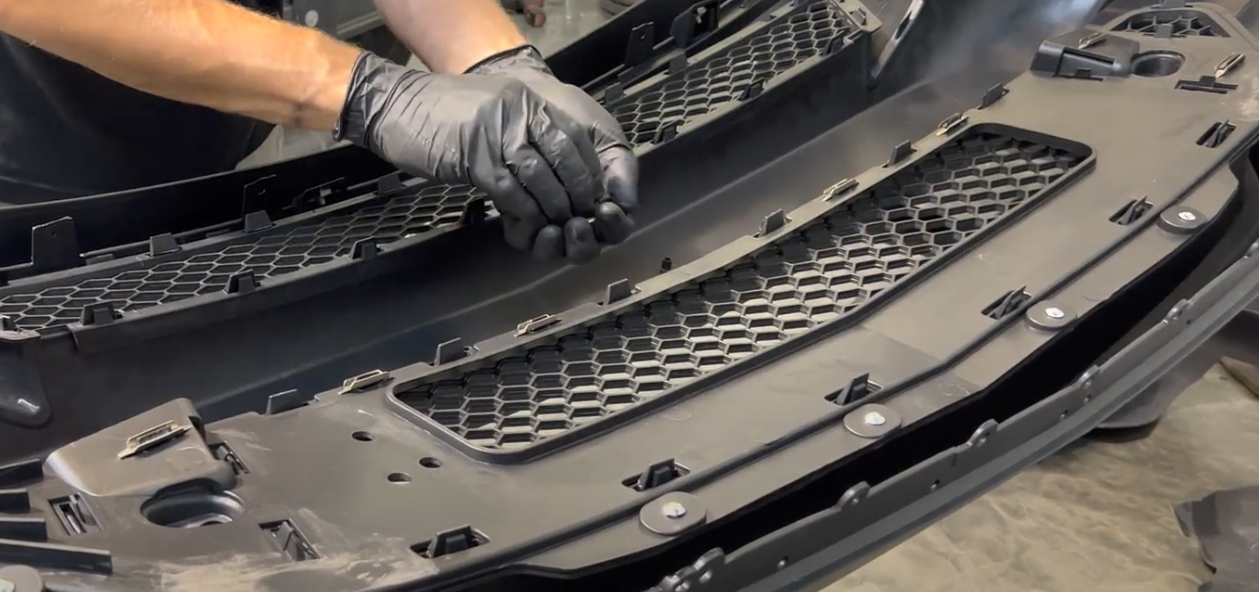
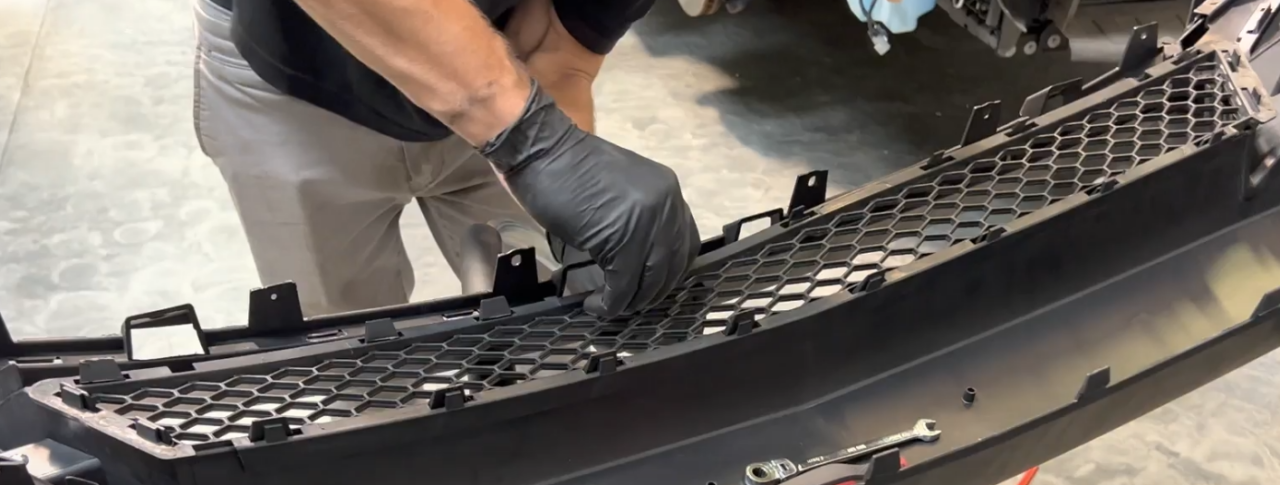
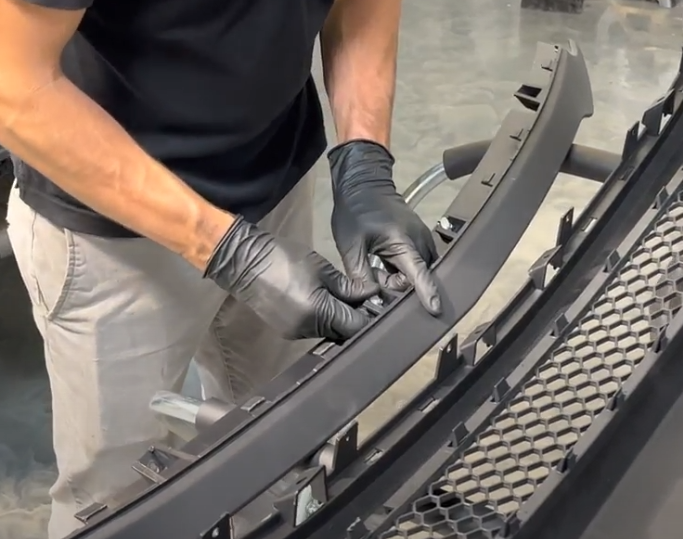
5: Clip in the upper grille and backing plate to the bumper.
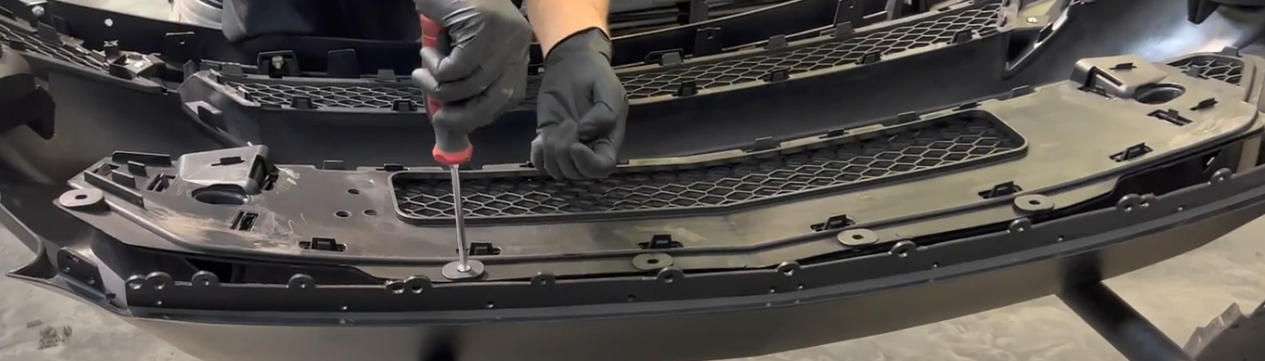
6: Use (QTY 5) coarse threaded screws to secure the upper grille to the bumper. Tighten hand tight.
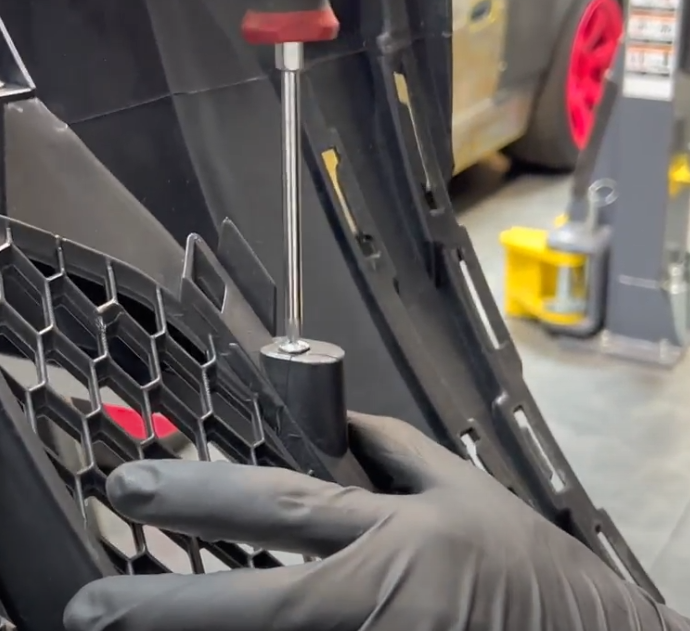
7: Using (QTY 7) metal flat clips, push firmly straight down to install to hold the backing plate onto the bumper.
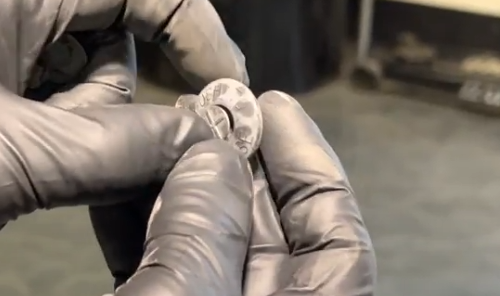
8: Moving on to the upper grille inserts, using the supplied c-clips and screw, install a c-clip with the threaded portion closest to the non-open side and the non-threaded side closest to the outside.
9: Clip the upper grille insert into the front bumper.
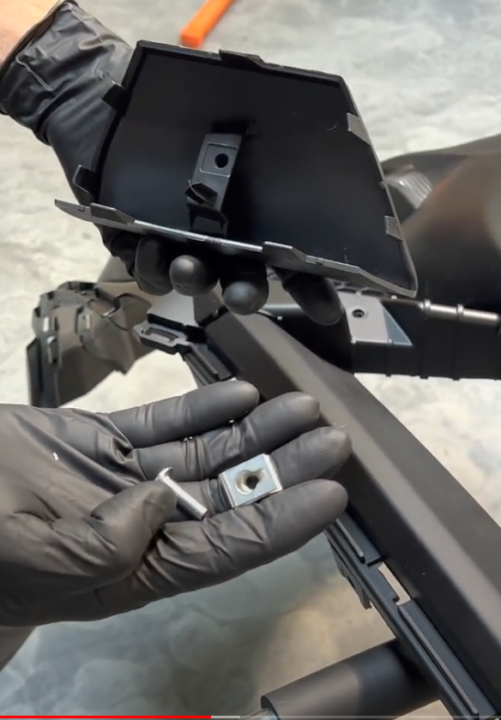
10: To finish the Upper grille, after both upper grille inserts are clipped in, flip the bumper to install the retaining screw from the supplied c-clip. Install hand tight.
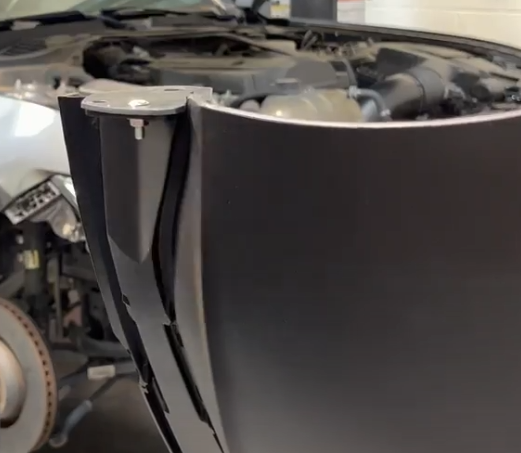
11: Included are (QTY 2) lower corner pieces that mount the fender liner and the front splitter. Use (QTY 1) fine thread screw, washer, and 8mm nut to retain using the top hole, ensure both holes are aligned and hand tighten.
12: Using (QTY 1) c-clip, install it onto the back of the dive plane with the threaded portion on the inside and the non-threaded portion on the outside
13: Clip the dive plane into the front bumper, and align the plastic dowel at the end of the dive plane with the corner piece.
14: Install retaining fine threaded screw to the dive plane. Install hand tight.
15: Repeat for the opposite side.


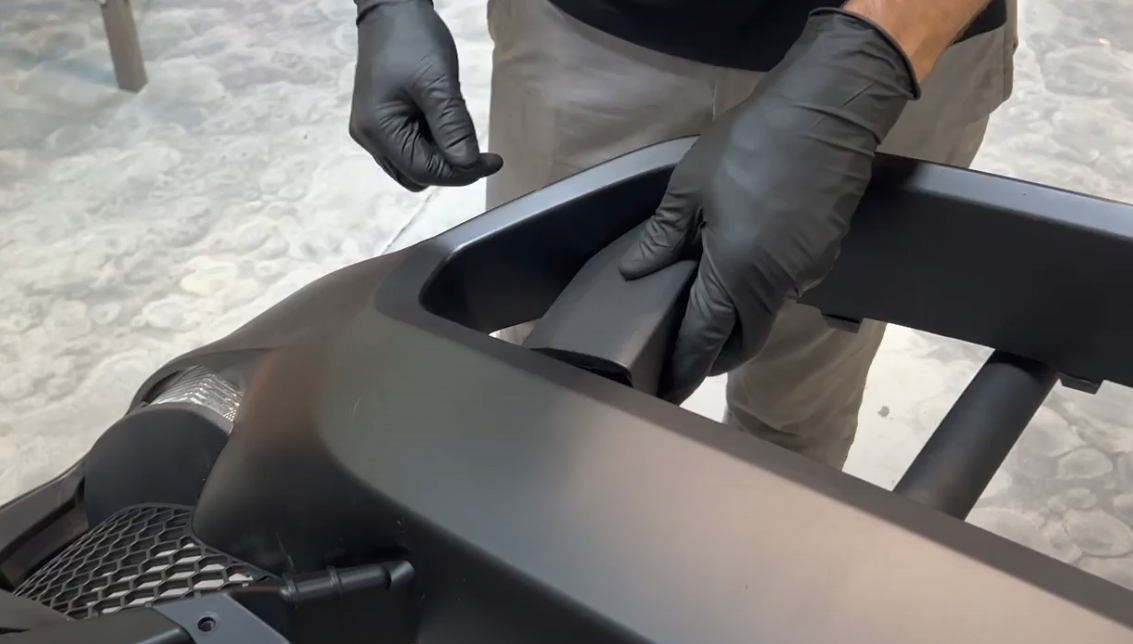
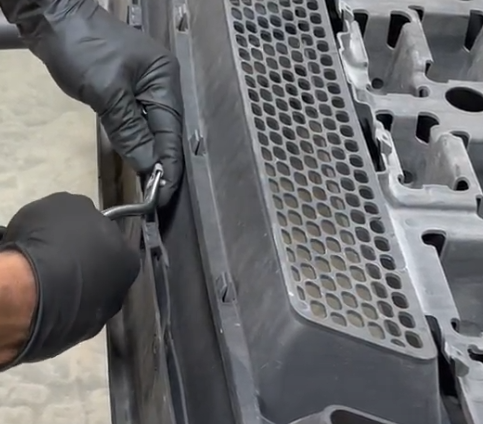
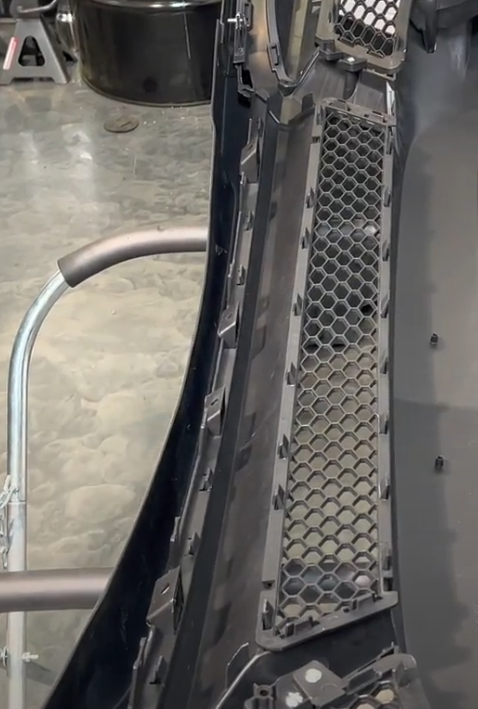
16: Install the lower grille with the clips on the bumper and push with moderate effort all the way around to secure the grille.
17: Front splitter install uses a tab off the front splitter that inserts into the bumper; this tab will utilize a c-clip to connect to the bumper.
18: Insert the fine threaded screw through the tab on the bumper to the front splitter tab with the c-clip and tighten hand tight.

19: On the OEM bumper, remove (QTY 4) c-clips from the lower section to install the OEM undertray to the new bumper
20: Install the c-clips from the OEM bumper onto the center splitter
21: Install the center splitter into the bumper by firmly pushing the splitter into place after aligning the plastic clips
22: Remove the OEM weather trimming on the top of the OEM bumper and install the original weather trim on the FFP GT350 bumper. Use a trim tool using a side-to-side turning motion to remove the Christmas tree clips to ensure they do not get damaged.
23: Ensure all hardware is tight, all clips are secure, and every piece aligns to complete your bumper assembly.


Installation Procedures:
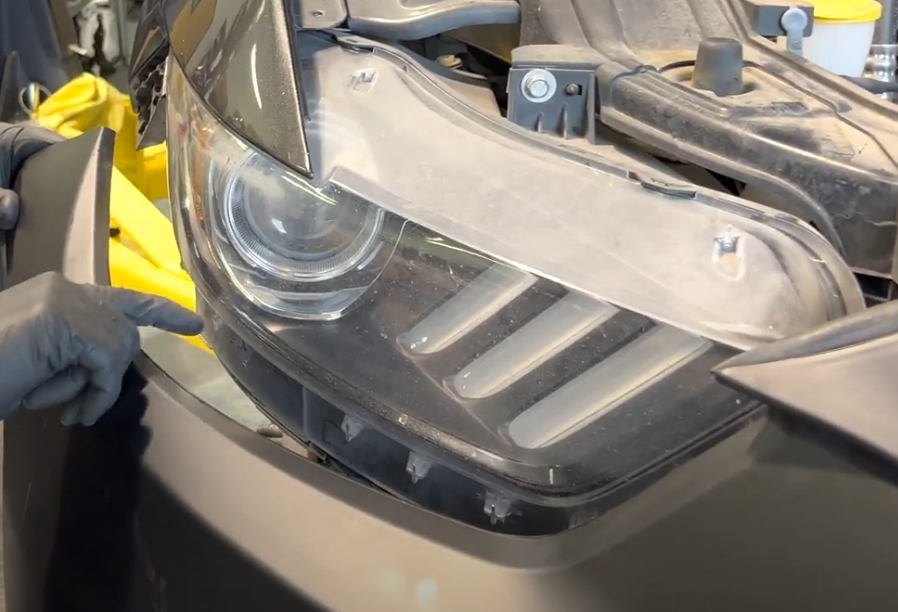
1: Align the dowels on the core support of the vehicle with the bumpers to begin the installation.
2: Use light force after ensuring the bumper is wrapped around the headlight intrusions for the bumper and not on top to snap into place.


3: Plug the turn signal harness in on both sides.
4: Re-install the 7mm screw inside the fender that retains the bumper. The bumper can be pushed in/out to get perfect fitment. Repeat for the opposite side.
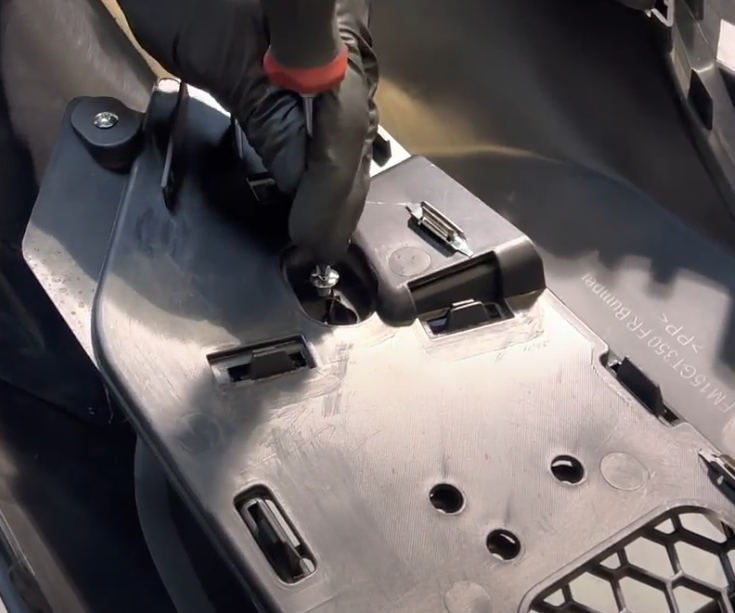
5: Moving forward to the undertray, slide the tray into the bottom of the bumper and install the (QTY 2) plastic clips at the rear section to hold the undertray up.
6: Install the OEM 7mm bolts (QTY 2) into the undertray to the forward-most mounting holes. Tighten ½ turn past hand tight.
7: Using the (QTY 4) plastic L-brackets supplied, install using the OEM hardware on the undertray side and fine thread screw, washer, and 8mm nut on the bumper side. Tighten ½ turn past hand tight.
*Tip: We found using the outermost undertray hole, skipping a hole, and using the 3rd hole to mount the L-brackets


8: Reinstall your fender liner using the OEM plastic clips; a large style clip will be needed for the bottom of the fender liner to the bumper, and two smaller button style clips that retain the fender liner to the upper sections of the bumper.
9: Reinstall the top mounting screws (QTY 6) 8mm bolts across the top of the front bumper and the (QTY 2) 5.5mm bolts between the headlight and front fender.
10: Reinstall the beauty cover and the OEM plastic clips.
11: Enjoy your new Function Factory Performance GT350 Style Conversion front bumper!
From the crew at FFP, we kindly thank you for your business. For suggestions or revisions, please get in touch with Support@FFPerformance.co
As always, feel free to leave a comment below and follow us on social media.
Follow us below
Facebook: https://www.facebook.com/ffperformanceaz
Instagram: https://www.instagram.com/ffperformanceaz/
Youtube: https://www.youtube.com/functionfactoryperformance
Need help ordering? Shoot us a message at this link https://ffperformance.co/factory-service/contact/ or dial 480-576-8606