


Owning an MT-82 equipped Mustang never fails to be a thrilling experience. After all, having the ability to row through gears is probably the reason you chose the six-speed. You may not have instantly realized it, but there is an issue with the factory shifter assembly. After some time you will be left scratching your head as to why something feels off. From the factory, shifts feel disconnected and very harsh. If your specific mustang sees any track use, you will find that the distance between shifts is also extremely long.
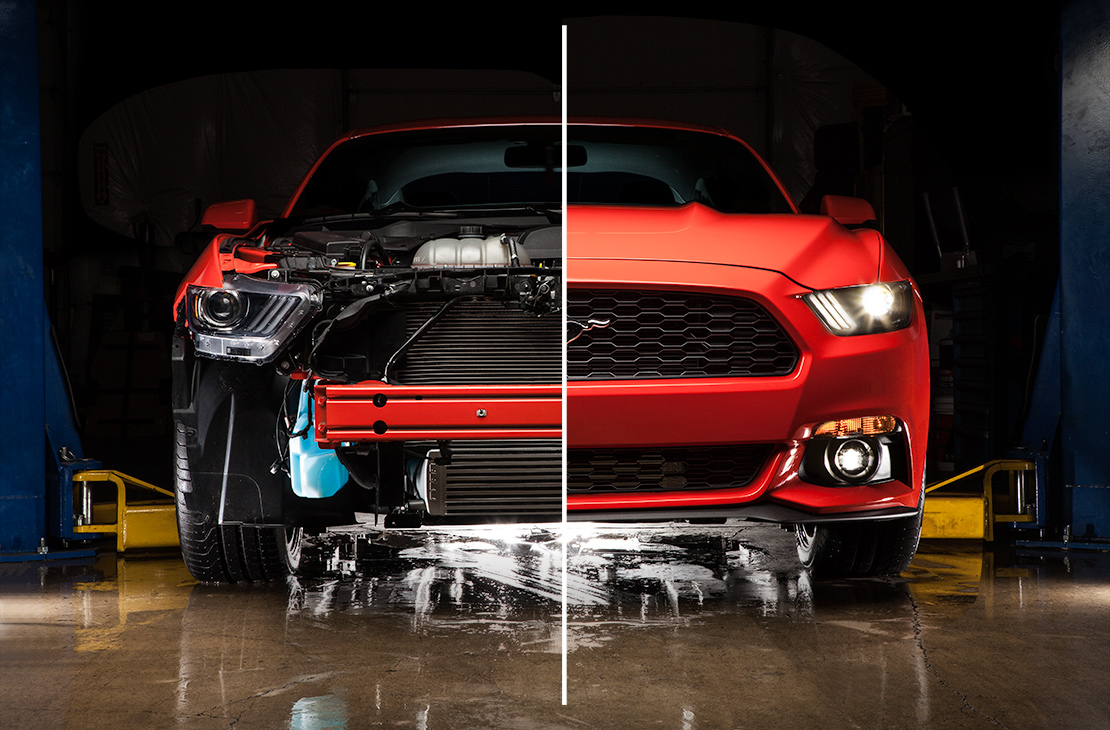
MGW 2015-2023 Ford Mustang Short Throw Shifter – MT82 Equipped Mustangs
Looking for an upgrade to your MT-82 equipped 2015-2020 Ford Mustang? Finally, a no-compromises short-throw shifter that can not only handle the toughest rigors of competition racing but also possess excellent street manners for your daily driver.
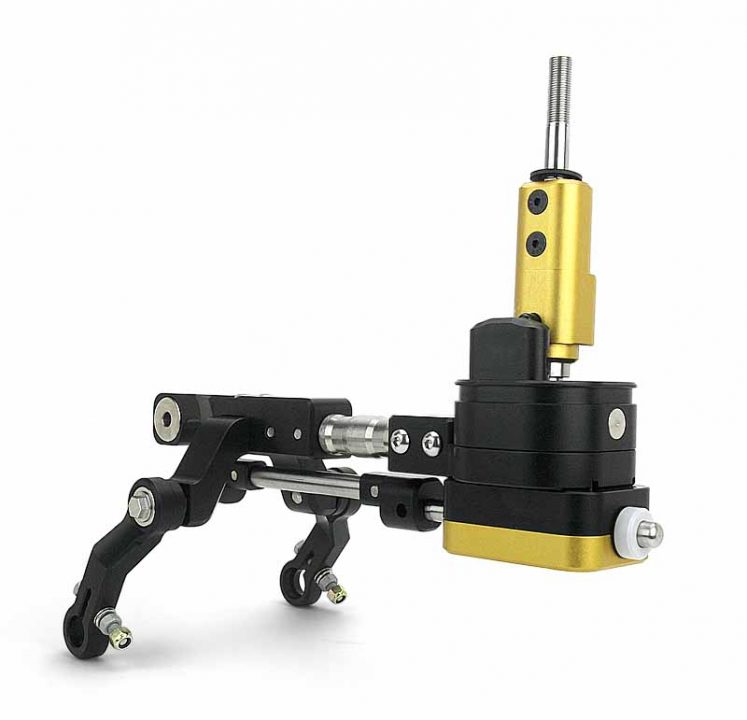
There is a company out there that is battling the cancer Ford decided to call a shifter assembly. MGW has been doing things rights ever since they decided to make short throw shifters. If you have ever owned a previous generation Mustang, Camaro or Corvette then there’s a possibility you may have heard their name come up. MGW has precedence that no other company can come close to. The quality of their products is next to none. The MGW Race Spec Short Throw Shifter for the MT-82 equipped Mustangs is a MUST HAVE product. MGW listens to their customers and offers a few different options, so whether your car is a daily or a purpose-built track car they make something to fit your needs!
Install Procedure:
Installing the MGW Short Throw can be done with pretty basic tools. Jack stands will work just fine, although a lift is recommended. Setting aside two hours or so would be a good idea. MGW provides all the necessary items required for the perfect install. Below is MGW’s installation video as well as a write-up of the install procedure with pictures.
Removing Interior Trim:
- First, remove the interior side panels along the side of the center console by pulling. They are held in by clips and a magnet. There will be 2 7mm bolts that will be removed.
- Remove the center console by opening the storage compartment and prying up on the sides. It will be tight, so I recommend a plastic pry tool or something similar. Be sure to unplug the connectors.
- Remove the boot bezel by pushing from the bottom of the orange clips. From there you can set aside the large center plastic piece.
- Remove the boot by the 3 clips attaching it to the shifter.
- The lockout assembly will be removed by using the punch that MGW supplies, remove the pin and spring.
- SAVE THE WHITE SOUND PAD!
- Next, remove the small Allen head screw on the driver side and the reverse lockout will pop off.

Move on if your interior looks similar.
Removing OEM Shifter Assembly:
- Get under the vehicle by either using a lift or jack stands.
- We will now remove the rear bracket. There are 2 10mm bolts mounted at the end of the transmission. You will need a long extension as well. Slide it out once both bolts are removed.
- Next, we will lower the transmission. Support the trans with a jack and remove the 4 18mm bolts. Once removed you may lower the jack. We will REUSE these bolts!

- Remove the top arm bolt. A 10mm ratcheting box wrench will be your best friend. This bolt is located above the slightly above the guibo and is horizontal on the transmission. It is a long bolt and it WILL BE REUSED.
- After removing the one 10mm bolt you will be able to move the large front arm, move it to one side for now.
- You can now slide the shifter body (reads Ford on the bottom) to one side and remove 2 10mm bolts. Once that is done, move it to the other side and remove the other 2 bolts. Pull the rubber boot off the OEM shifter housing. You can now pull down the center linkage rod and push it to the passenger side.
- You should see 2 bolts holding on a retaining plate, remove them.
- You can now remove the shifter shaft down through the bottom.
- Now move the entire linkage rod to the driver’s side of the driveshaft and line it up with the hole in the tunnel from inside the vehicle. Pull this up from inside the vehicle.
- You can now remove the final bolt holding on the final linkage. It will be a 13mm mounted vertically above the guibo. This bolt isn’t visible and will have to be done by feel. You WILL REUSE this bolt!
MGW Install:

- Now we will use the bolt we just removed, put the supplied Loctite on it. Now take the MGW linkage and mount it. Make sure the flat side is facing upwards as seen below. You may tighten this bolt down, the linkage arm will be able to move freely when tightened.
- Prep the MGW bridge by using Loctite on each of their supplied bolts. Also, remove the bolts holding on the strut arms and use Loctite. Cut a piece of the Dynamax and apply it to the top of the bridge.
- Now we will take the bridge and install it. Once in place take the 10mm long bolt we saved from earlier and tighten this bolt down. It may require some force for the bridge to slip into the desired spot.
- After that is done we can move onto the MGW shifter body. Again we will remove the supplied bolt and use Loctite. Use the remaining Dynamax and apply it to the bottom of the shifter body.

We will now take the shifter body and install it from inside the vehicle

- Once lowered you can now attach the upper connecting rod and lower linkage. Do not fully tighten these bolts yet, but make sure you have the locking washer and regular washer in their respectful places.

- We will now attach the strut arms to the mounting points on the transmission. Loosen the strut arm bolt allowing for more wiggle room and slide each slide onto the mounting point. This may take some force.
- We will now raise the transmission using a jack. Start the 4 18mm cross member bolts by hand and then you remove the jack and tighten the bolts. These should be torqued to 76lbs-ft.
- We can now go back and tighten all the bolts!
- Make sure when tightening the strut arms mounting nuts that you also use the supplied locking nuts on top of them.
- You can now apply the provided heat-shield to the bottom of the shifter body and put it over the Dynamax sheet.
The reverse lockout should be set from MGW, but if you have issues when power-shifting or it goes out here is MGW’s video on how to set it. This can be done at this point in the install.
Interior and Shift Boot Install:
- Take the OEM shift boot and bezel and cut above the lower neckpiece from inside the boot. This will allow you to remove the factory chrome trim from the boot.
- Install the supplied grommet on the OEM boot.
- Take the rubber boot MGW provides and install it. There is a groove cut into the boot that must sit in the tunnel. When installed correctly you should only see one bolt head on the upper part of the shifter.
- Use the zip tie provided at the top of the boot.
- You can now install the MGW sound pad, and use the white OEM sound pad on top.
- Install the center console using the 2 7mm bolts.
- Install the boot/boot bezel and finally the side panels.
You may now go wash your hands, grab the keys and finally feel what this car should have felt like from the factory. You will instantly notice how much stiffer the MGW feels. There is ZERO slop and it doesn’t feel like the shifter is going to snap in half when you really start banging gears. The centering spring is also extremely strong. The particular Mustang this MGW X-SPEC was installed on always had a bad chatter in between 1st and 2nd which is a common trait on the S550. It was cured instantly along with the overall clunking that used to take place in between gears.
The only thing to note is that there is a slight increase in NVH, this is just the nature of the beast seeing as how it mounts directly to the transmission. It is minor, but the shifter does have some vibration through it. It is very negligible and everything else this short-throw does right stomps over the one negative aspect. It is also slightly harder to put into reverse, you do need to push down with some force to get it into reverse.
The overall feel of the shifter made a world of difference, and even with the standard handle, this shifter sits much lower. The length between shifts is drastically reduced making the car easier to drive, I also found myself wanting to rev match the car more often. This MGW does require a little more effort but it slides into gears much smoother than before. It feels as if the car wants to grab the next gear for you rather than you forcing its hand. This is an absolute must-have modification for anyone with a manual-equipped Mustang. You need this shifter. This thing slaps!
Social Media
Instagram: https://www.instagram.com/ffperformanceaz/
Facebook: https://www.facebook.com/ffperformanceaz/
Youtube: https://youtube.com/thefunctionfactoryaz
Email: Sales@FFPerformance.co
Phone: 251 253 2032
 2016-2022 Chevrolet Camaro
 2005-2013 Chevrolet Corvette C6
 2014-2019 Chevrolet Corvette C7
 2020-2024 Chevrolet Corvette C8
 2015-2023 Ford Mustang EcoBoost
 2015-2023 Ford Mustang
 2024 Ford Mustang
 2017-2020 Ford F-150 Raptor
 2012-2018 Ford Focus
 2016-2021 Ford GT
 2017-2023 McLaren 720S